Pick the integration type
Select API, the option labeled Connect to web services.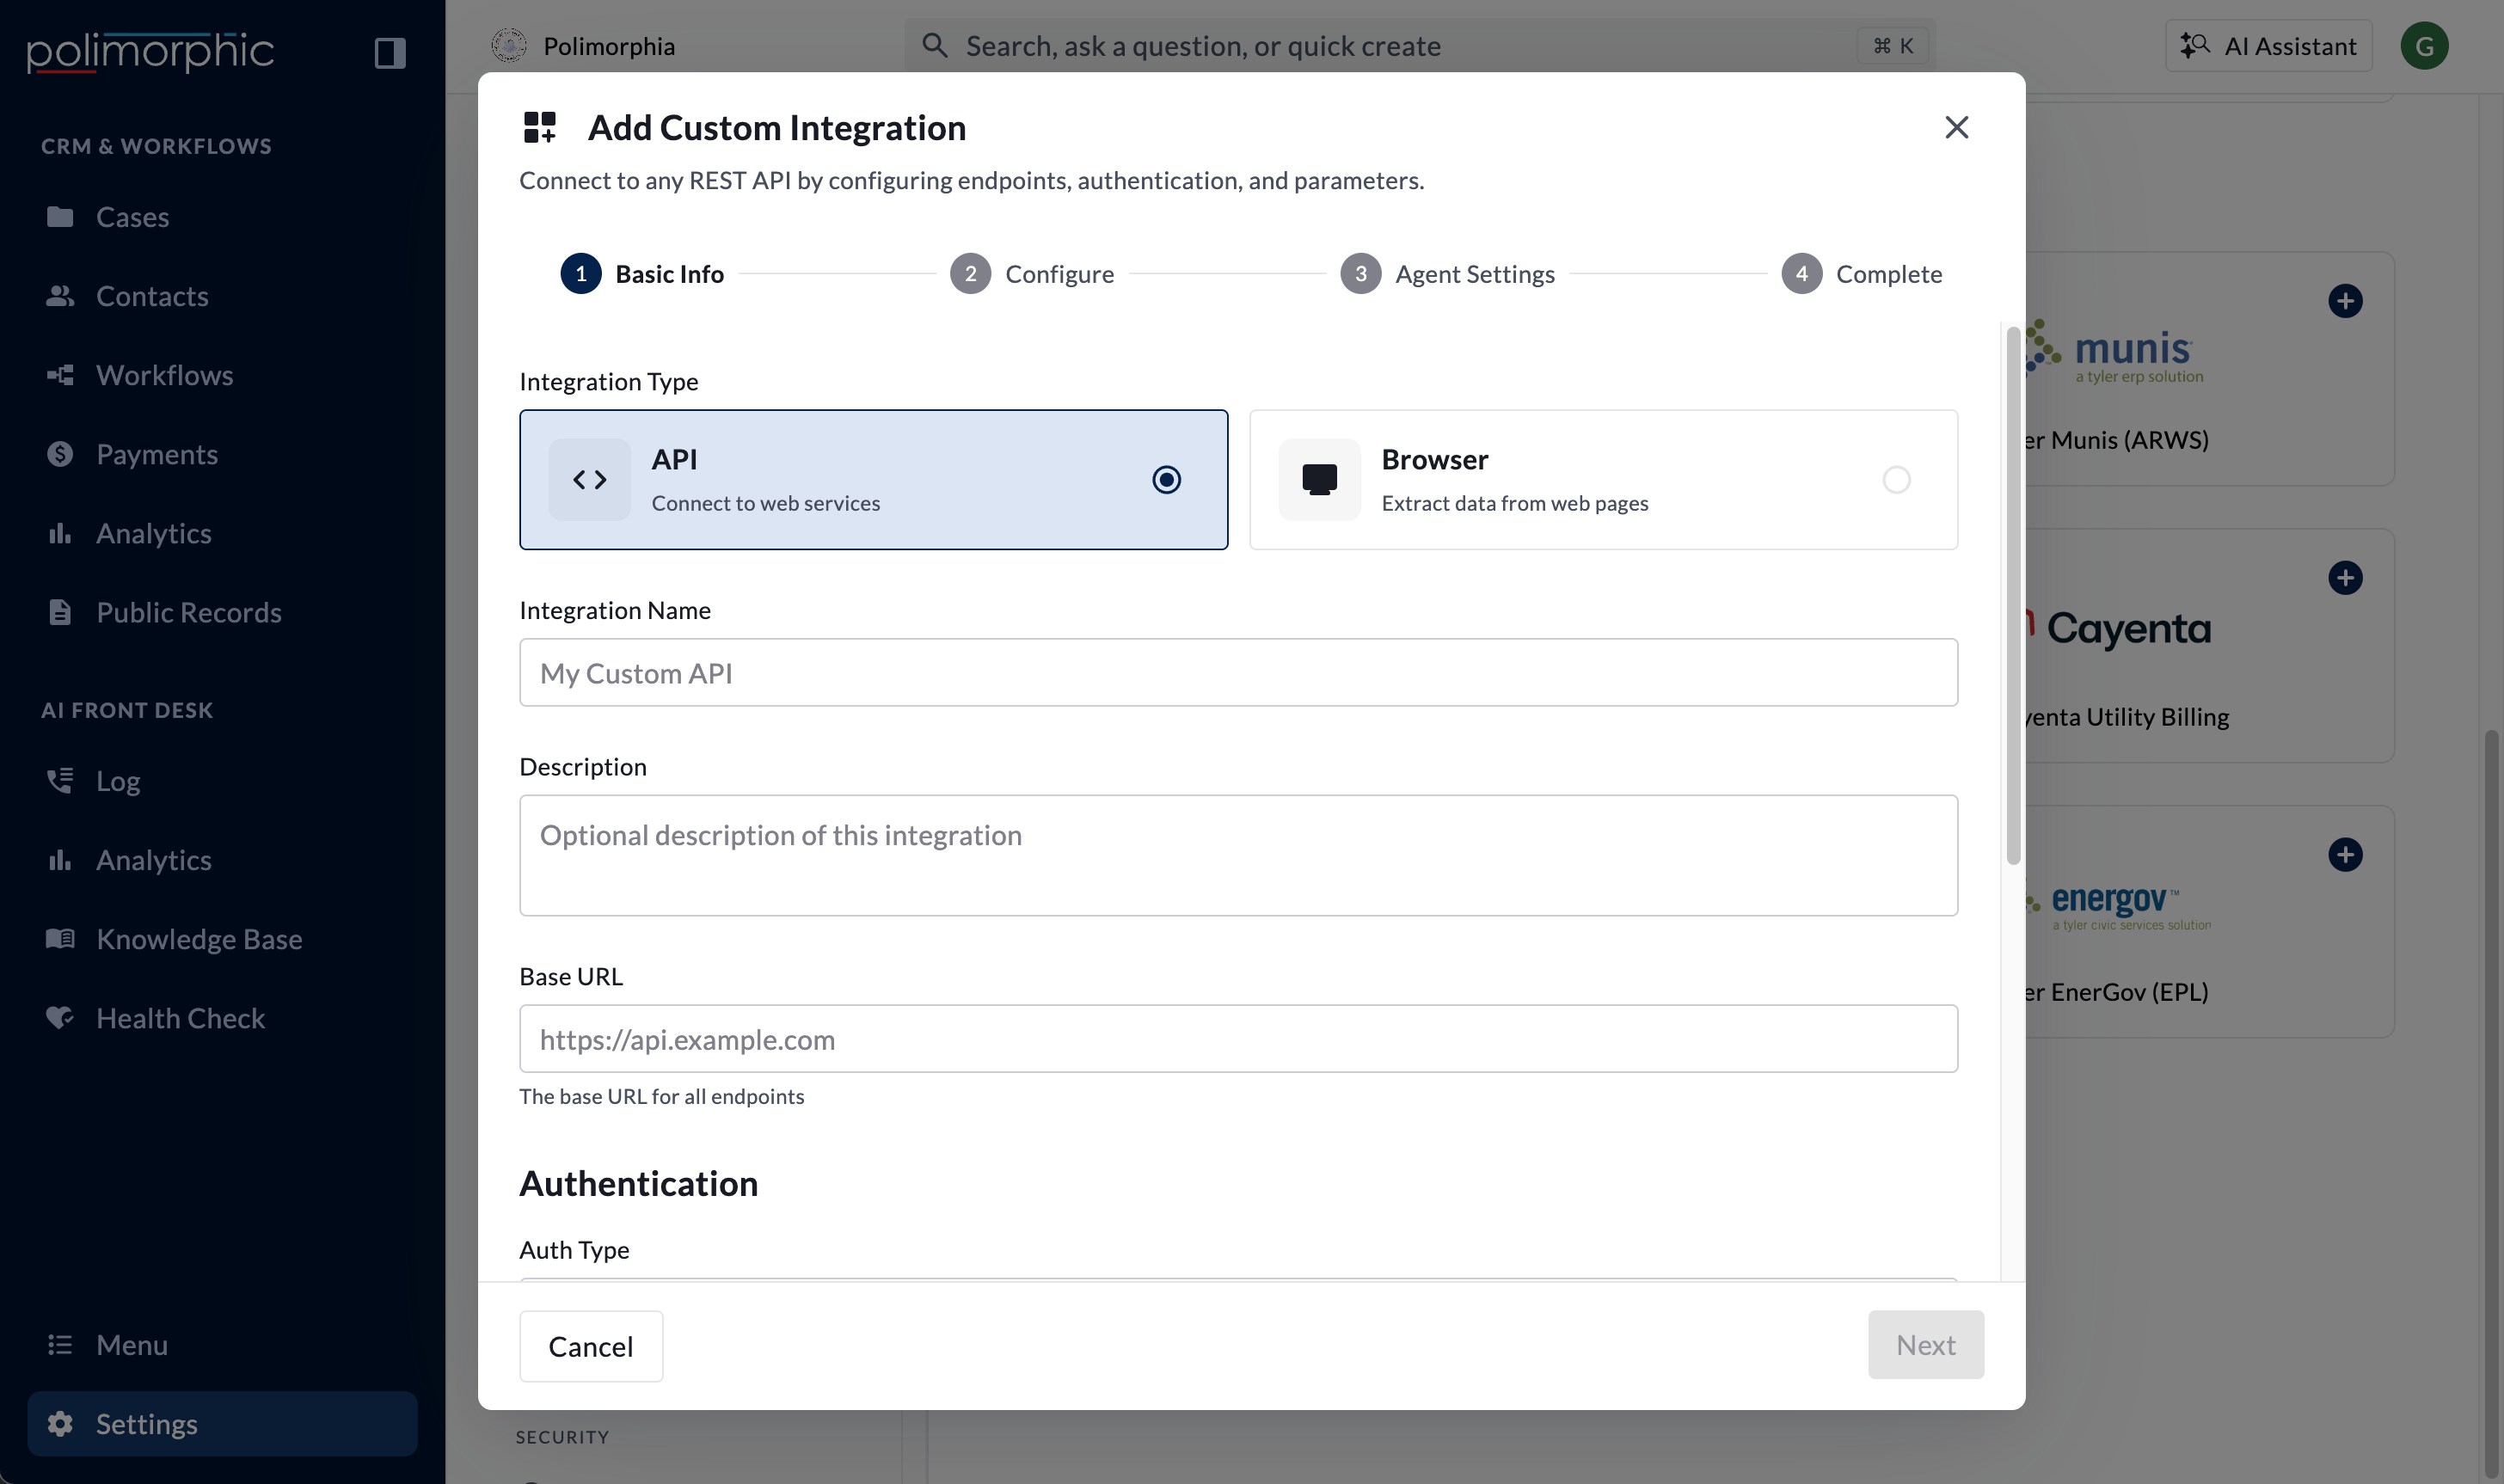
1. Complete Basic Info
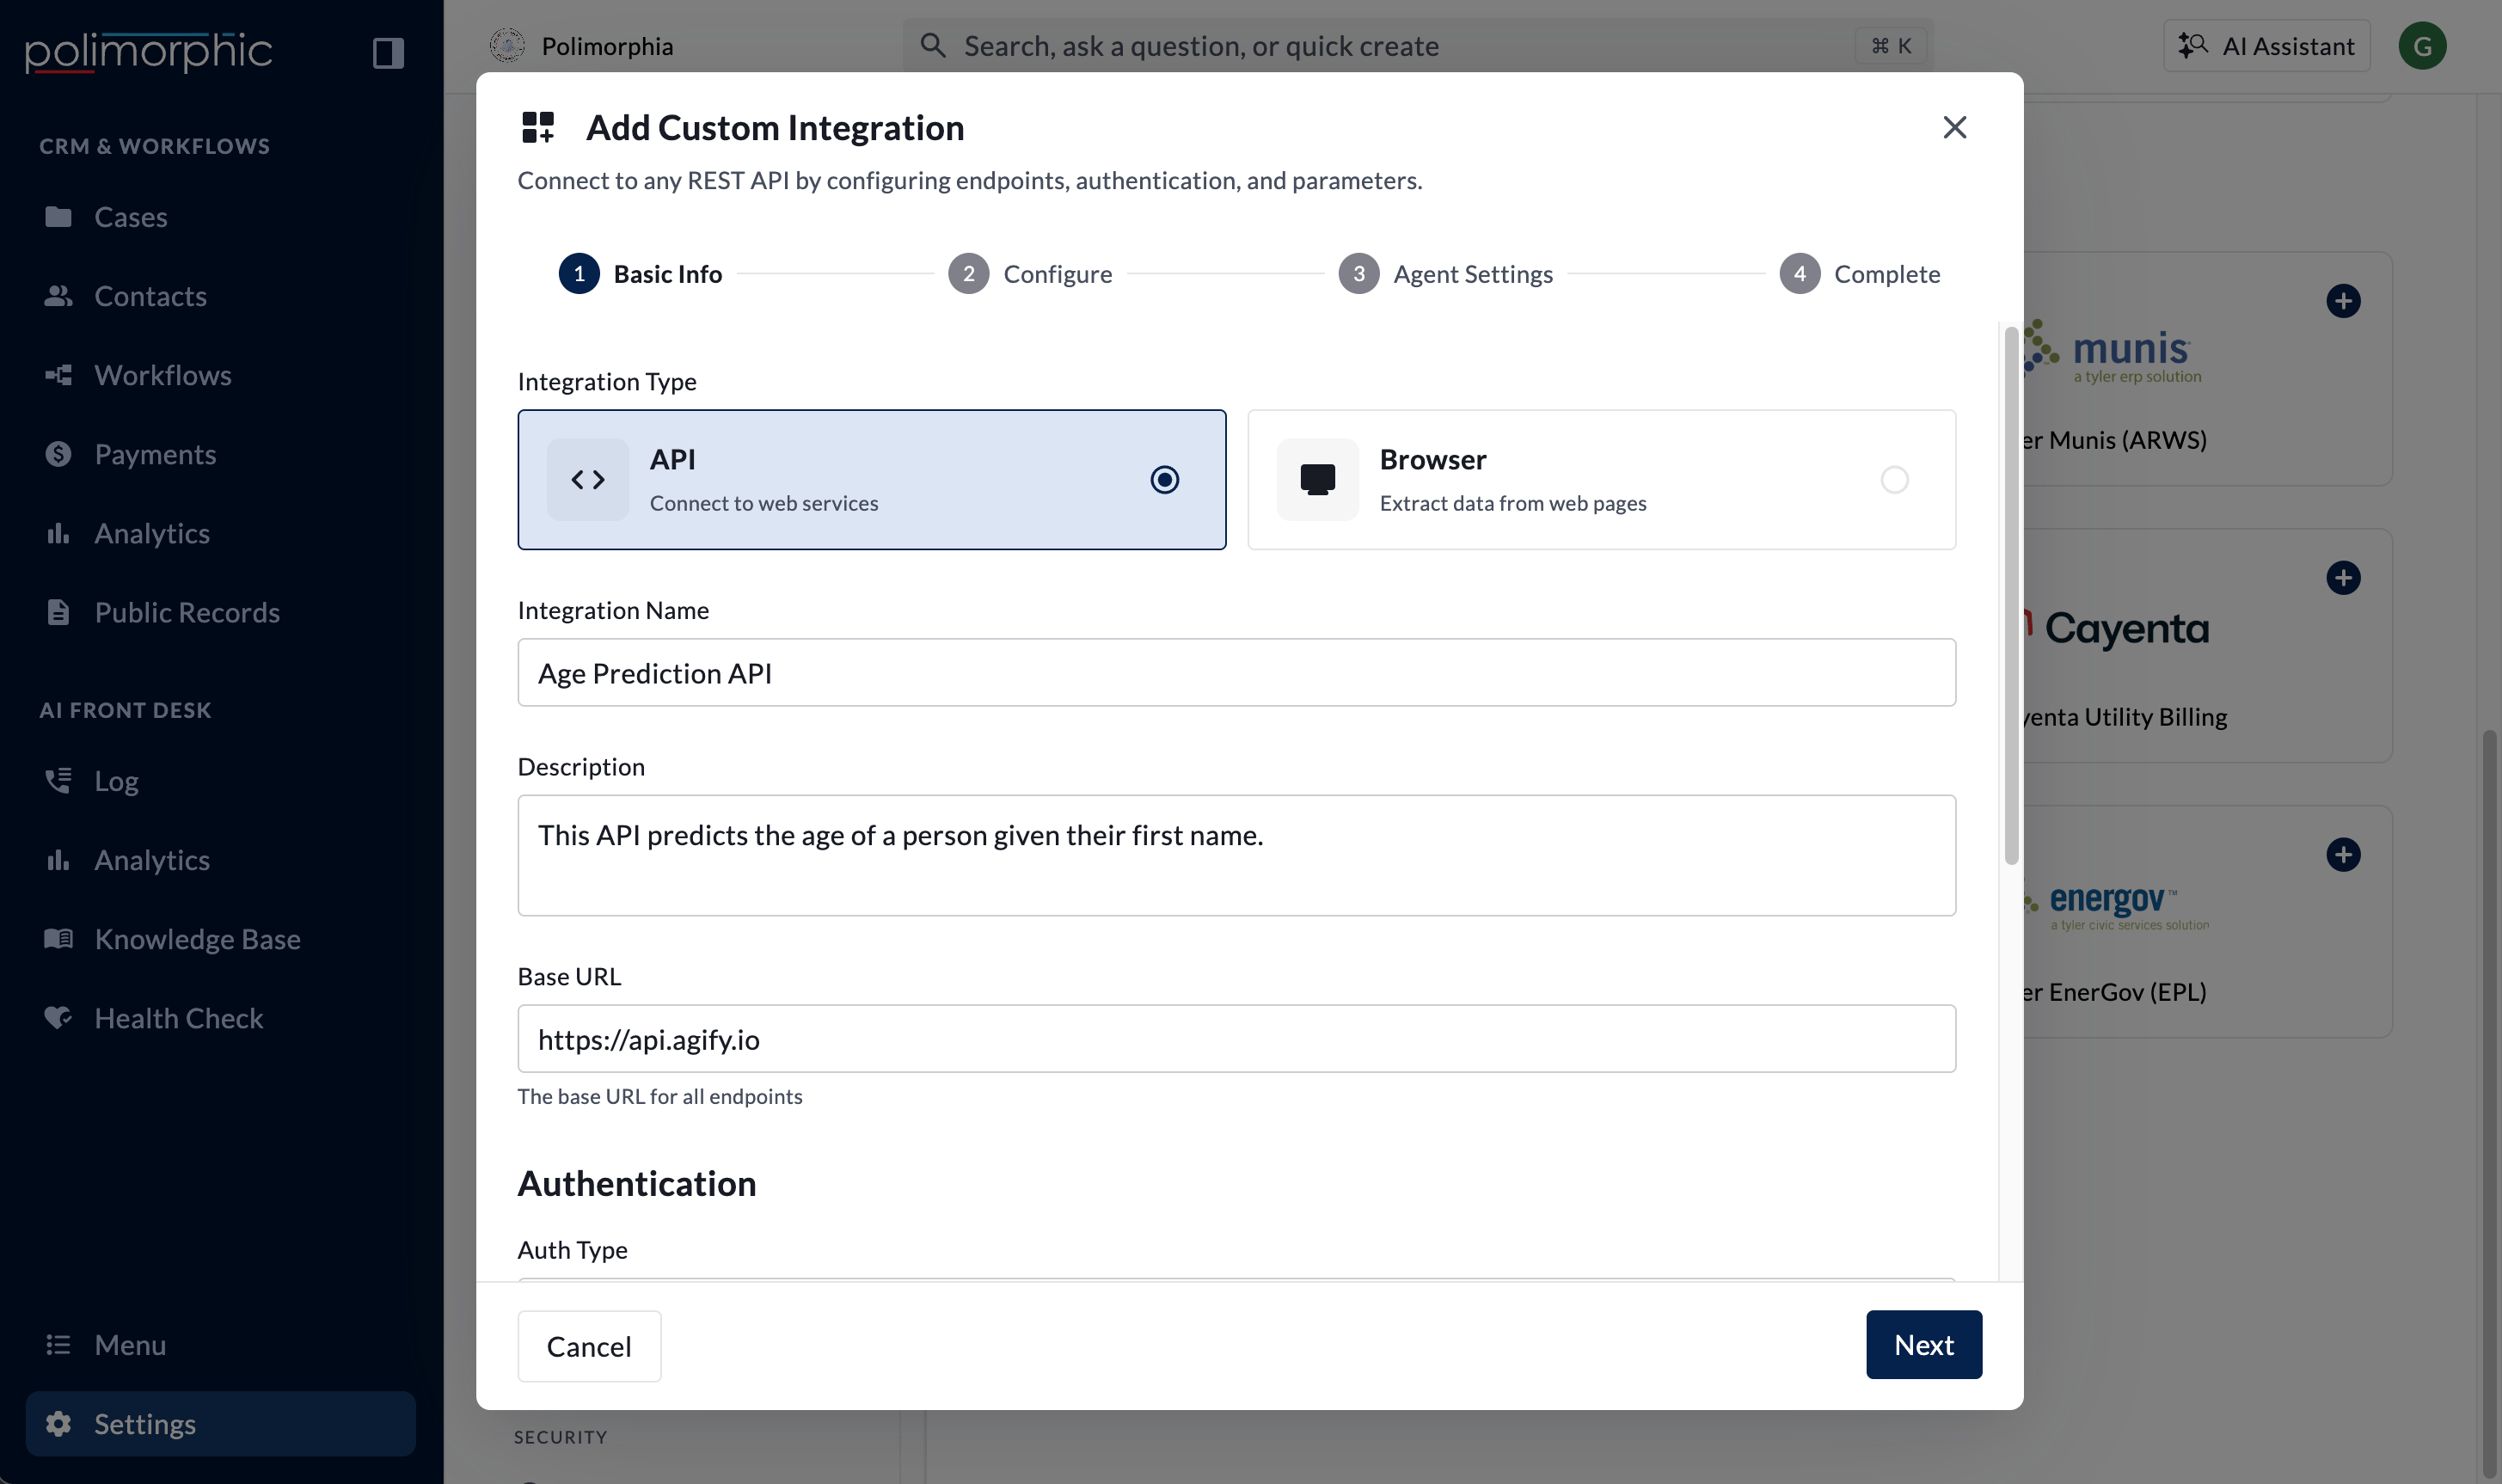
- Integration Name: A clear name staff will recognize.
- Description: Optional context about the system and intended use.
- Base URL: A complete URL beginning with
https://orhttp://, such ashttps://api.example.com. - Authentication: The method required by the provider.
- No Auth
- API Key: Enter the header name and API key. Add a prefix only when the provider requires one.
- Bearer Token
- Basic Auth: Enter a username and password.
- Query Parameter: Enter the parameter name and value.
- OAuth 2.0: Enter the token URL, client ID, client secret, grant type, and any required scopes. The visible grant types are Client Credentials and Password. Password grant also uses a username and password.
Default headers
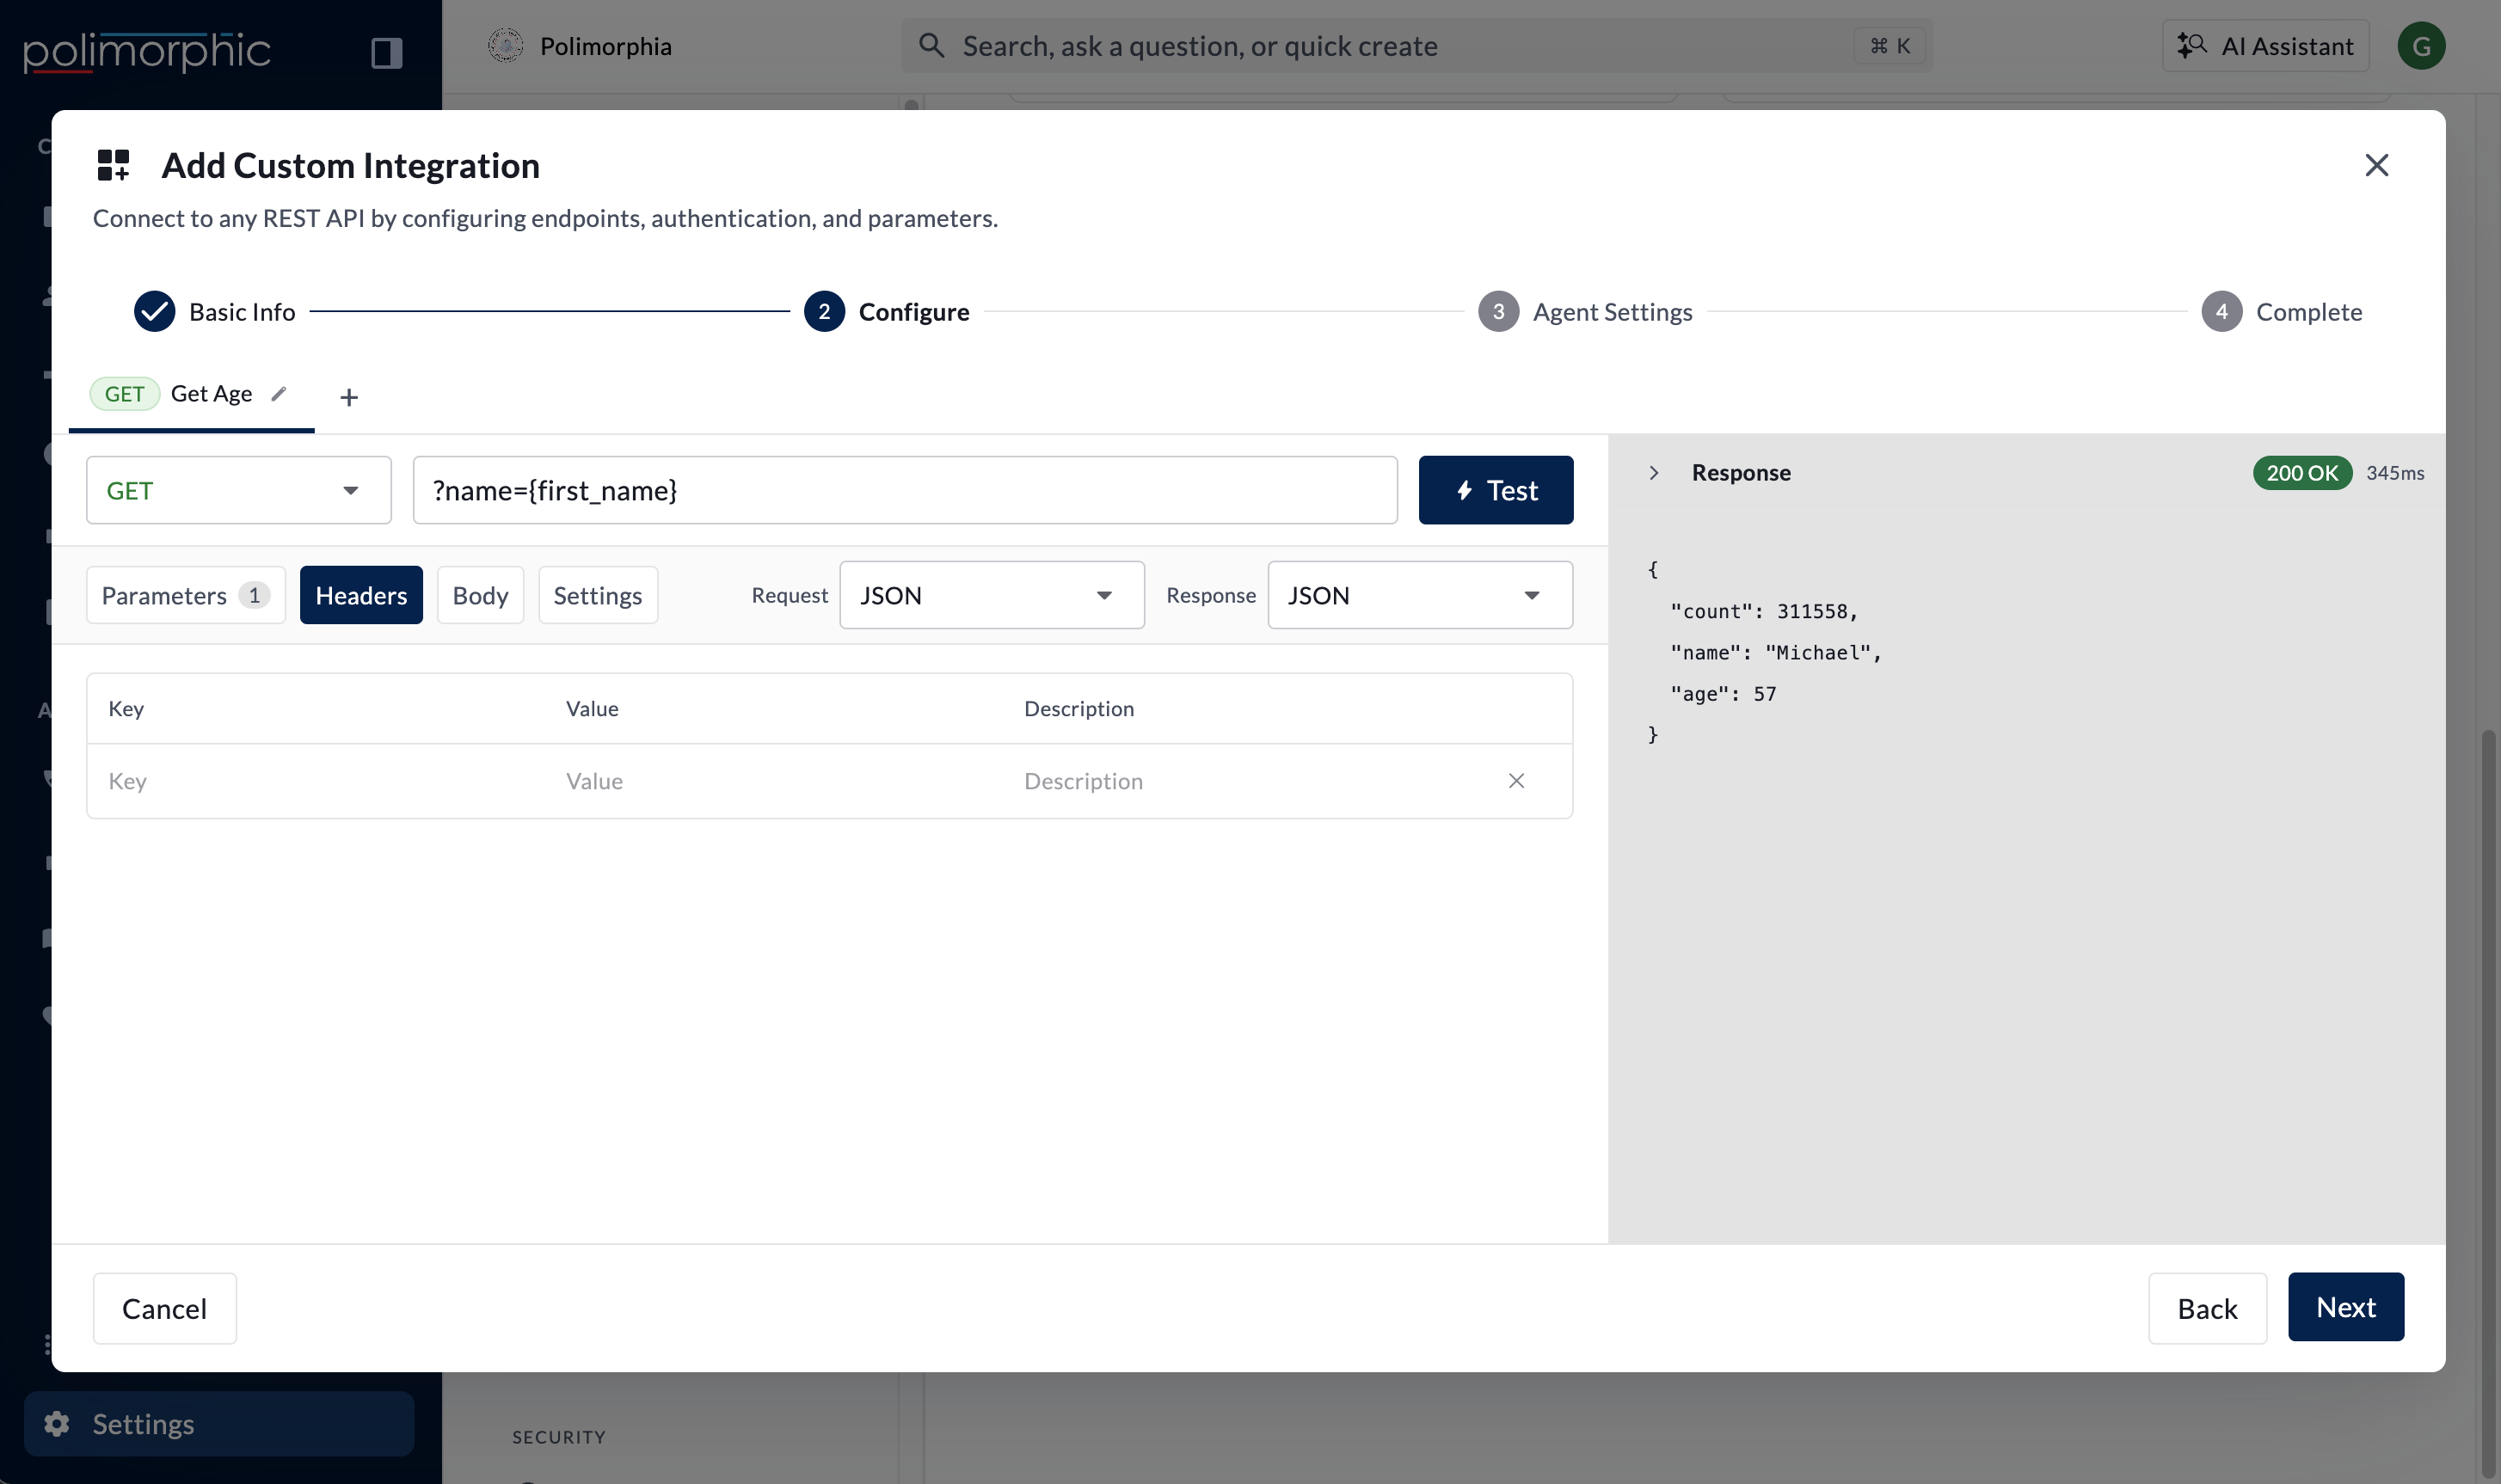
Add headers that should be sent with every endpoint request, such as an API version or media type. Don’t duplicate an authentication header already managed by the selected authentication method.IP proxy
Enable Use IP Proxy when the provider requires a fixed outbound address for allowlisting. Use the IP address displayed in the form when asking the provider to update its allowlist. Confirm the provider has applied the change before testing. After creation, Integration Type, Base URL, and the Auth Type are read-only in the full editor. Confirm them before saving. You can still replace the stored secret for the chosen auth type, such as an API key, bearer token, basic password, or client secret. Open the integration in the editor, enter the new value, test an endpoint, and save. Leave the field blank to keep the current value.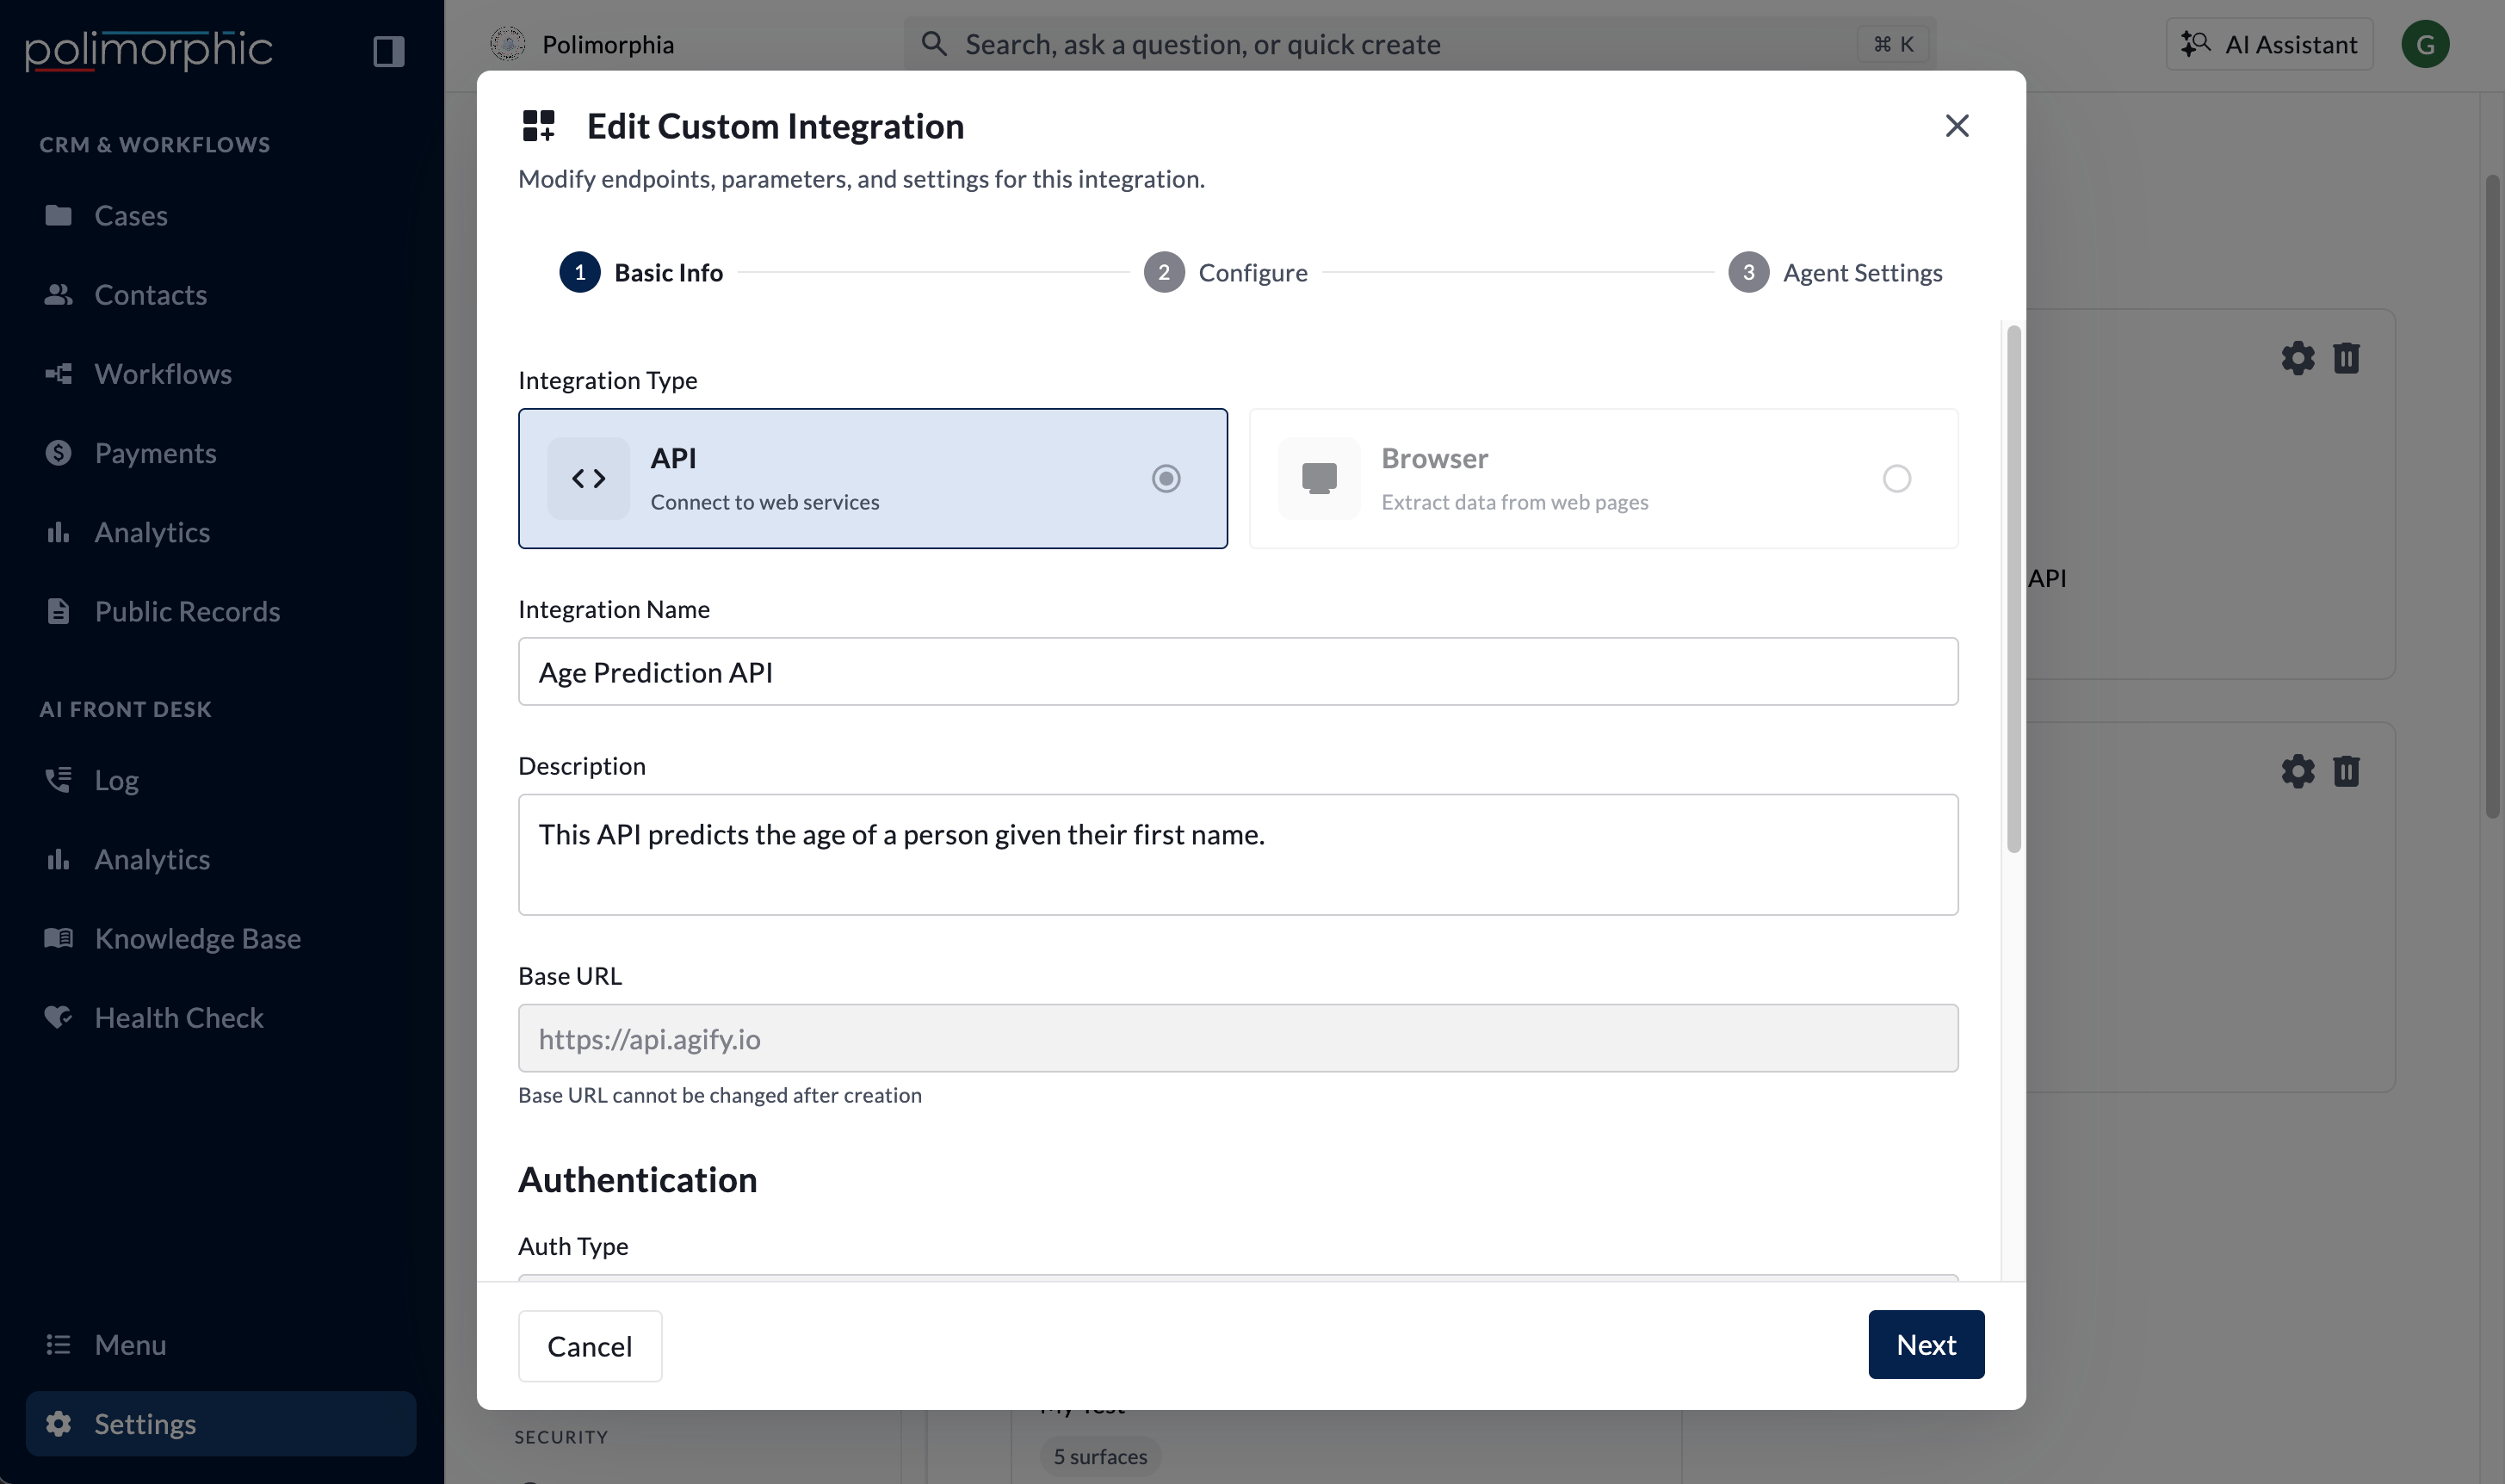
2. Add and configure endpoints
On Configure, select Add Endpoint and give the endpoint a clear name and description.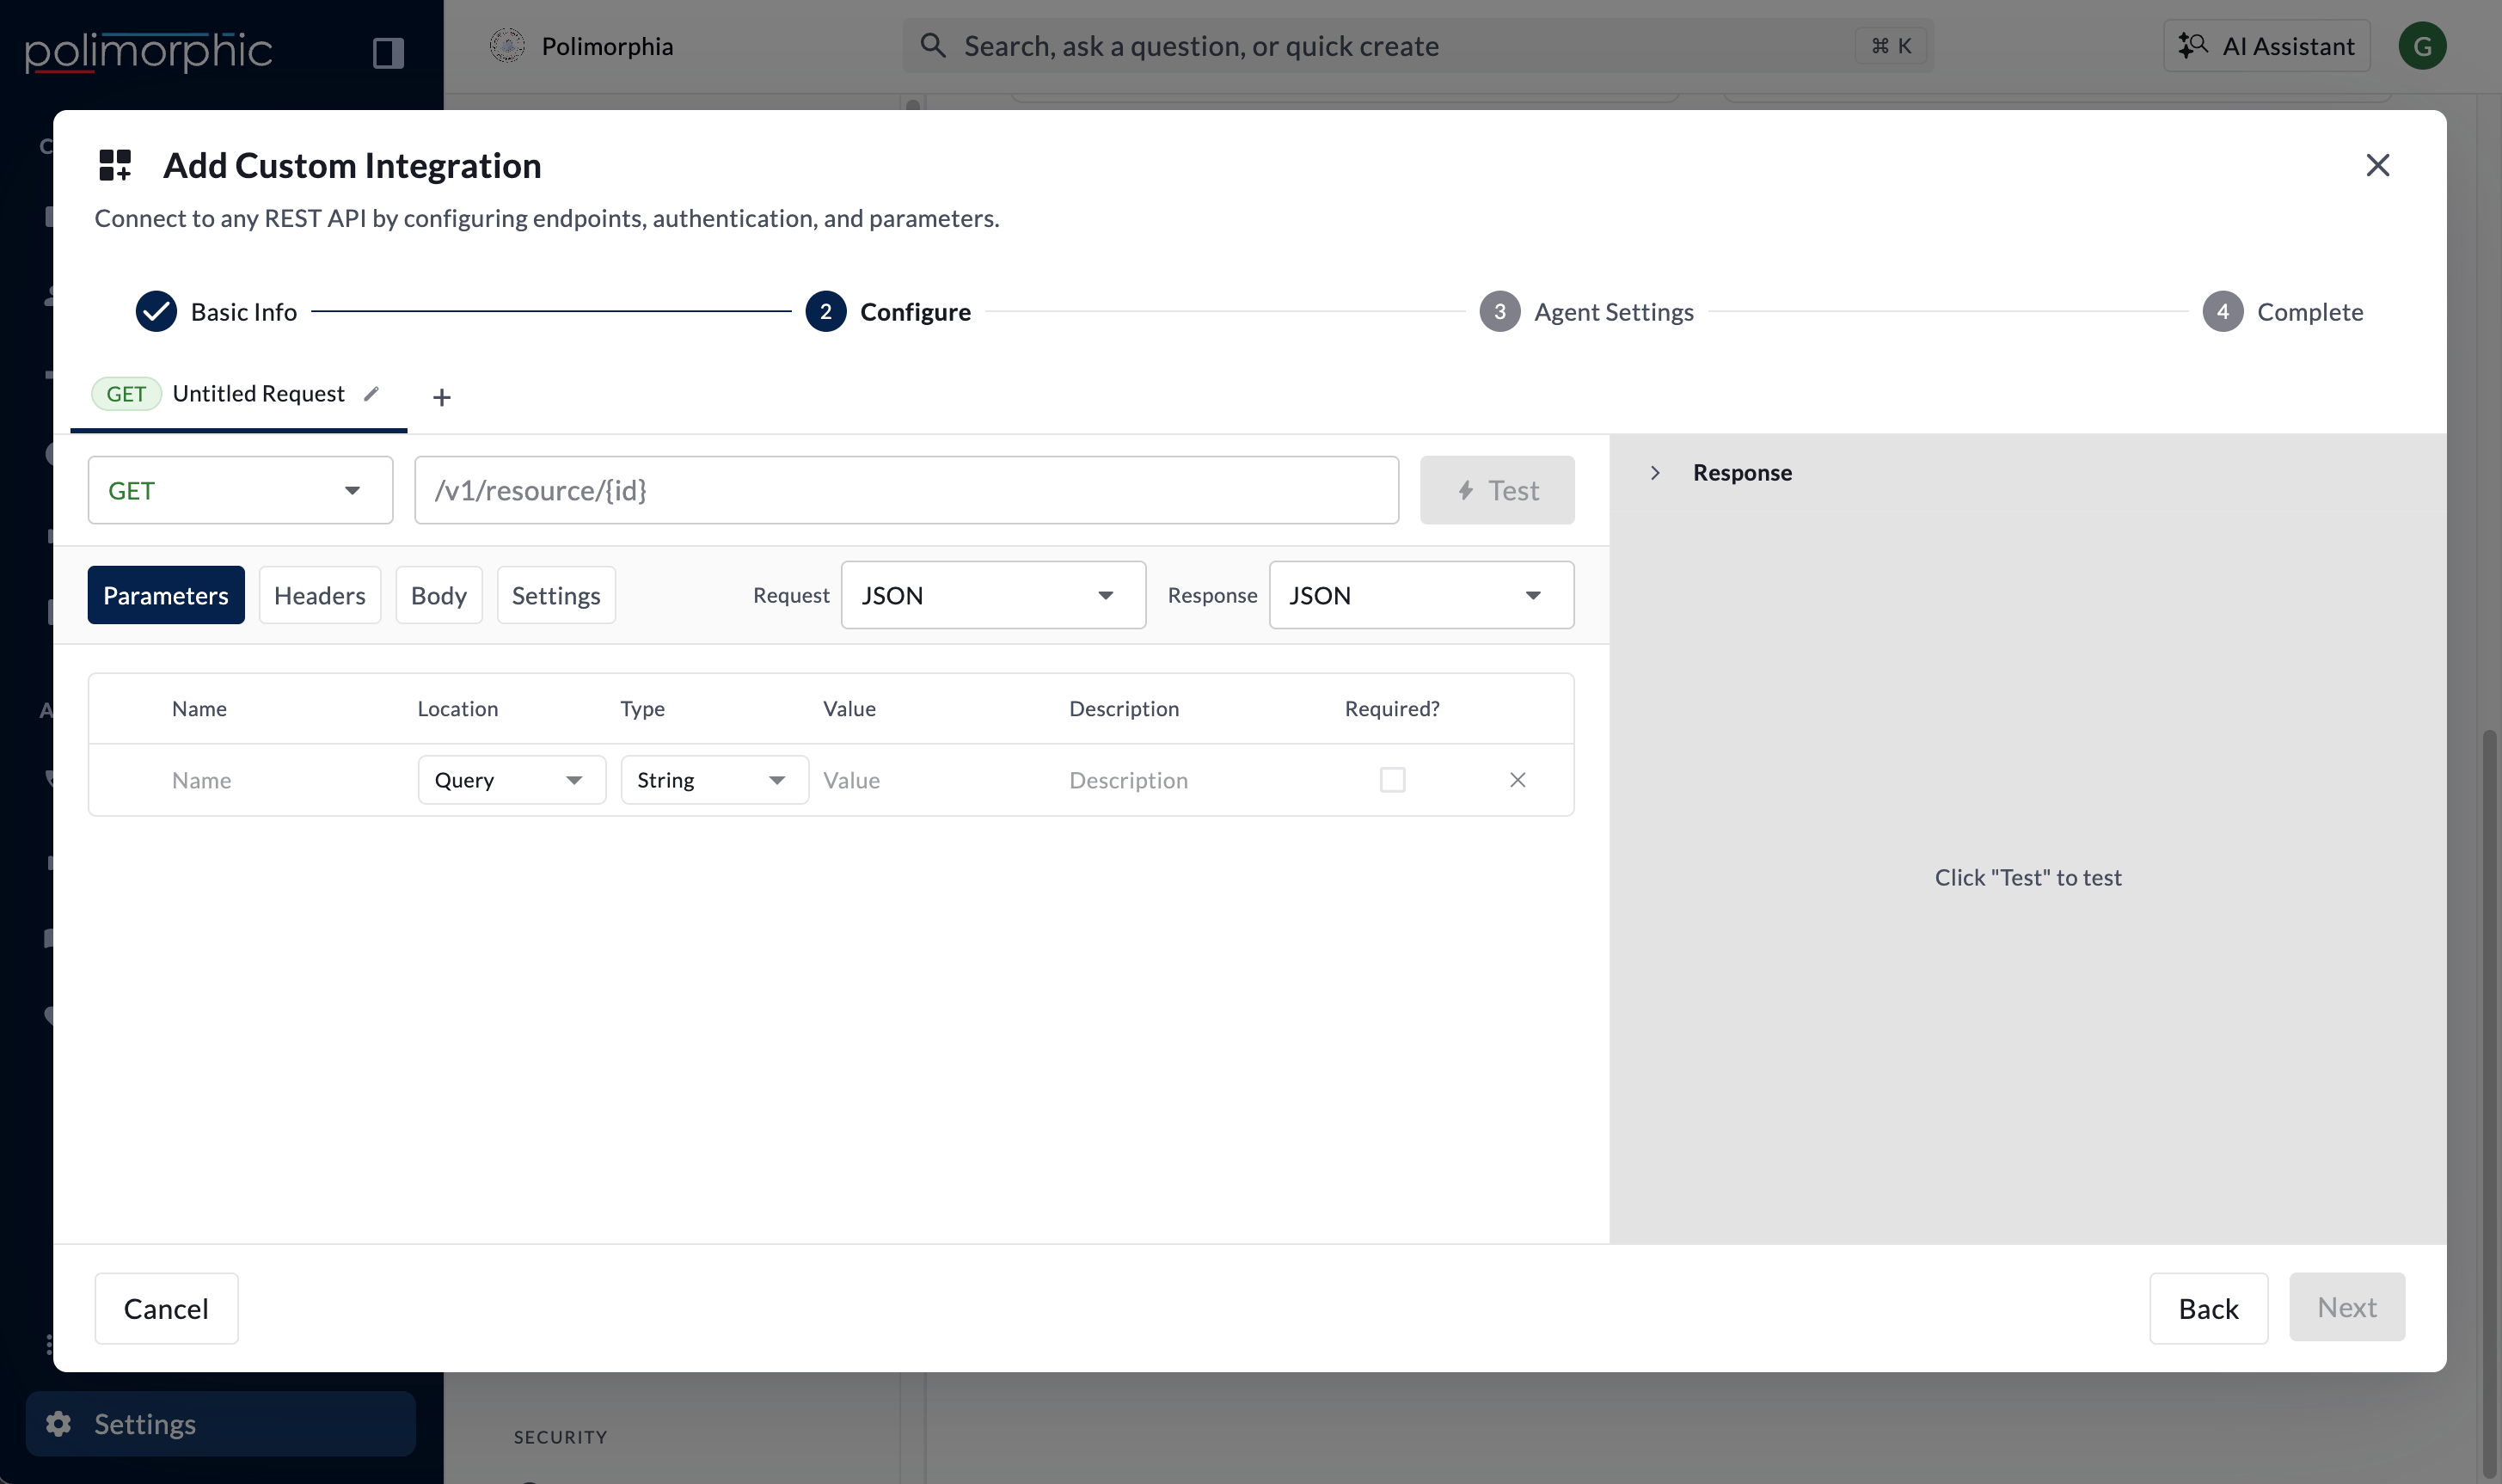
Method and URL
Choose GET, POST, PUT, PATCH, or DELETE. Enter an endpoint URL:- Relative to the base URL, such as
/v1/accounts/{account_id} - A complete absolute URL when the endpoint uses a different host
{name} placeholders for path parameters.
Parameters
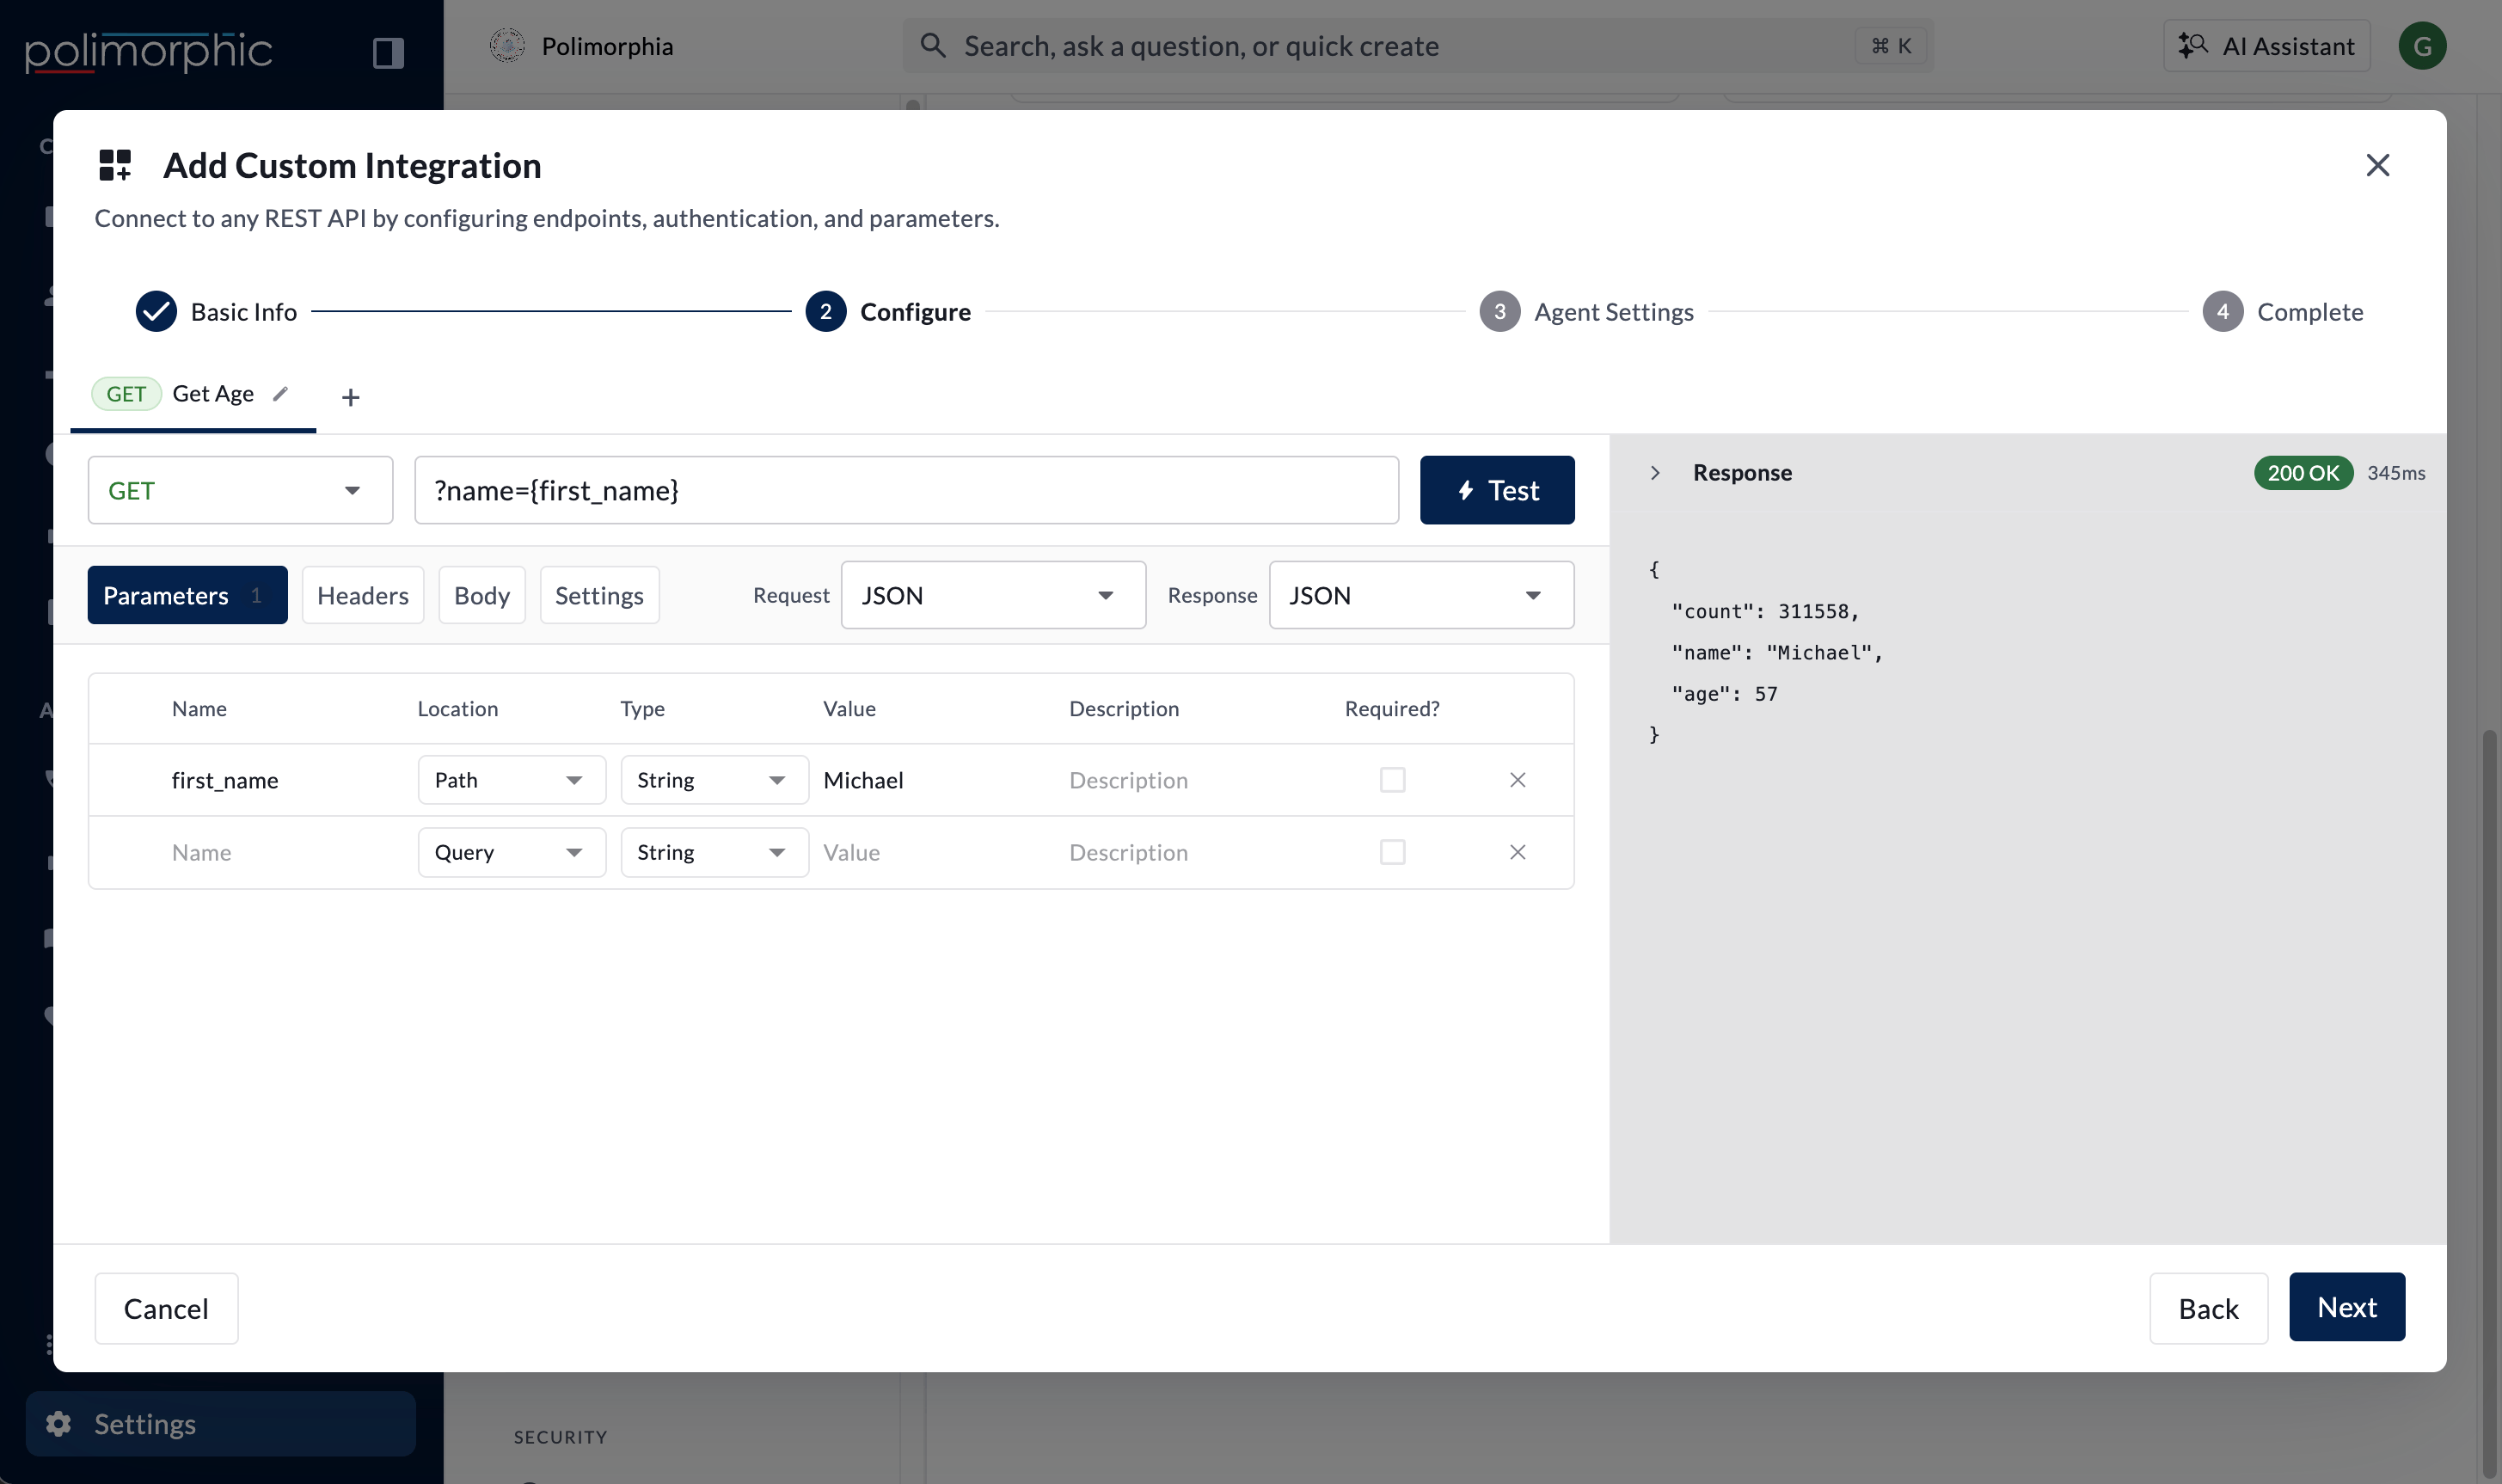
- Name
- Location: Query, Path, Header, or Body
- Type: String, Integer, Boolean, Number, Array, or Object
- Default value, when appropriate
- Description
- Required status
Headers
Body
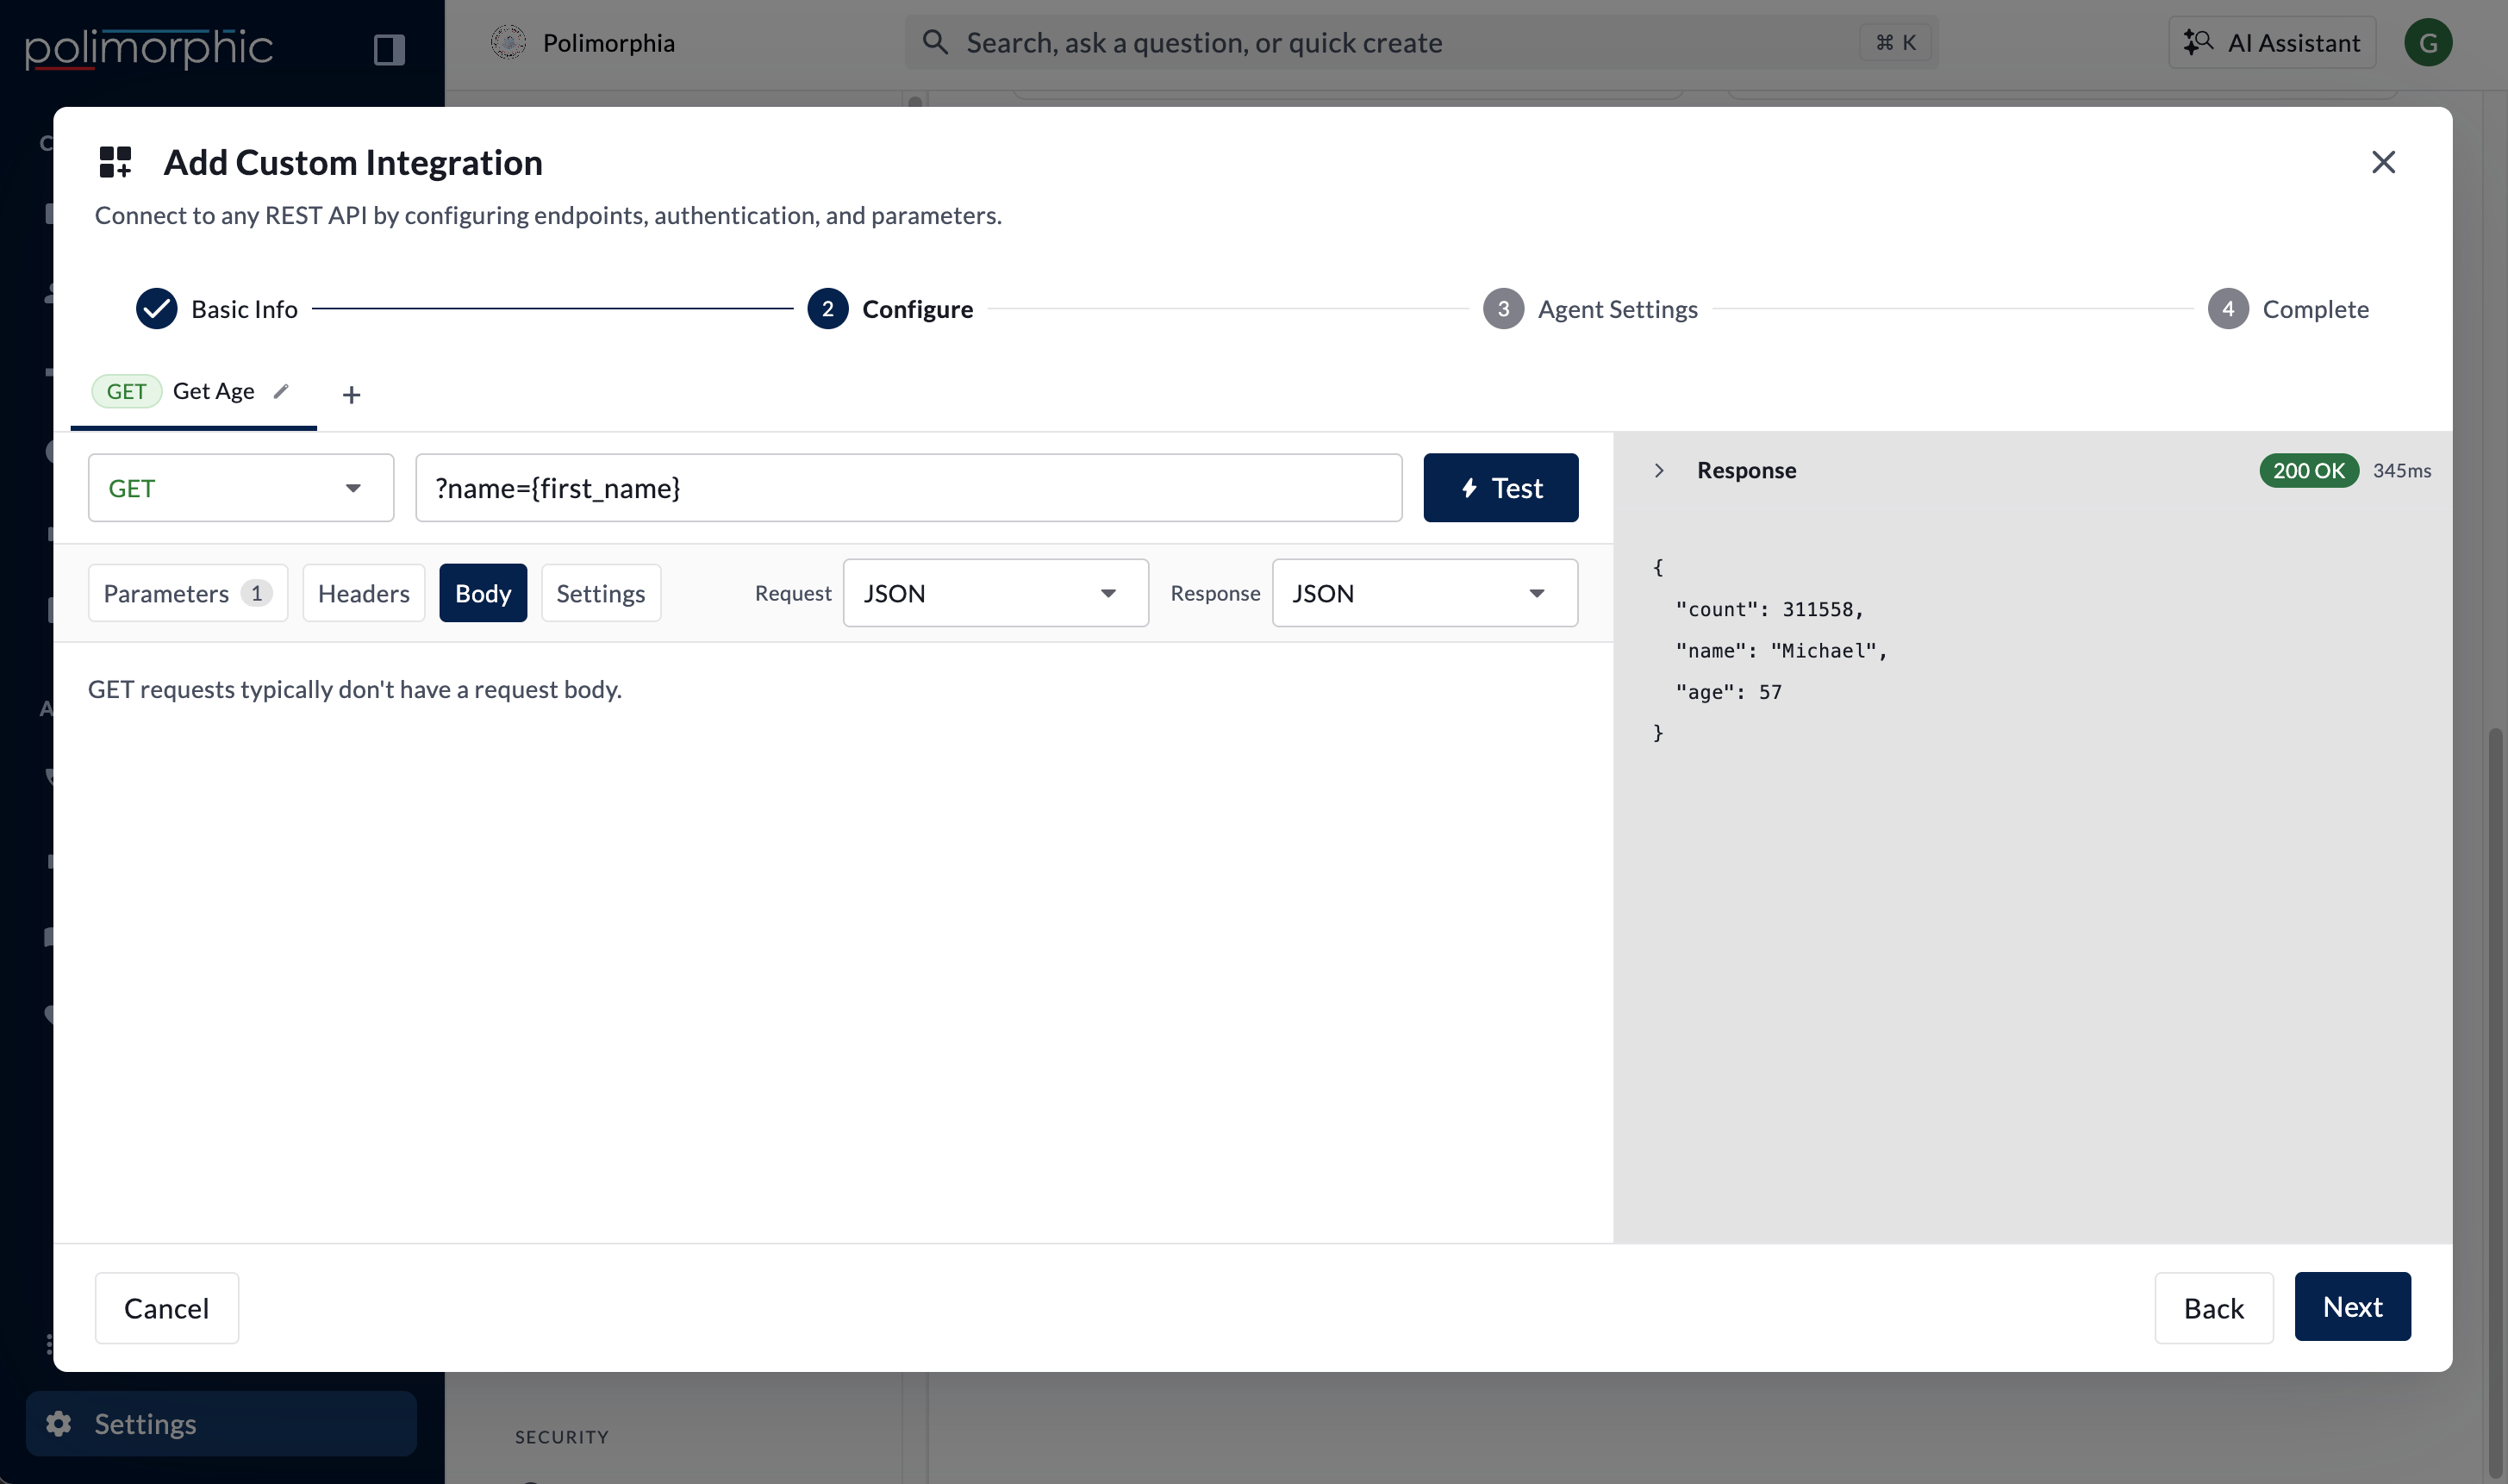
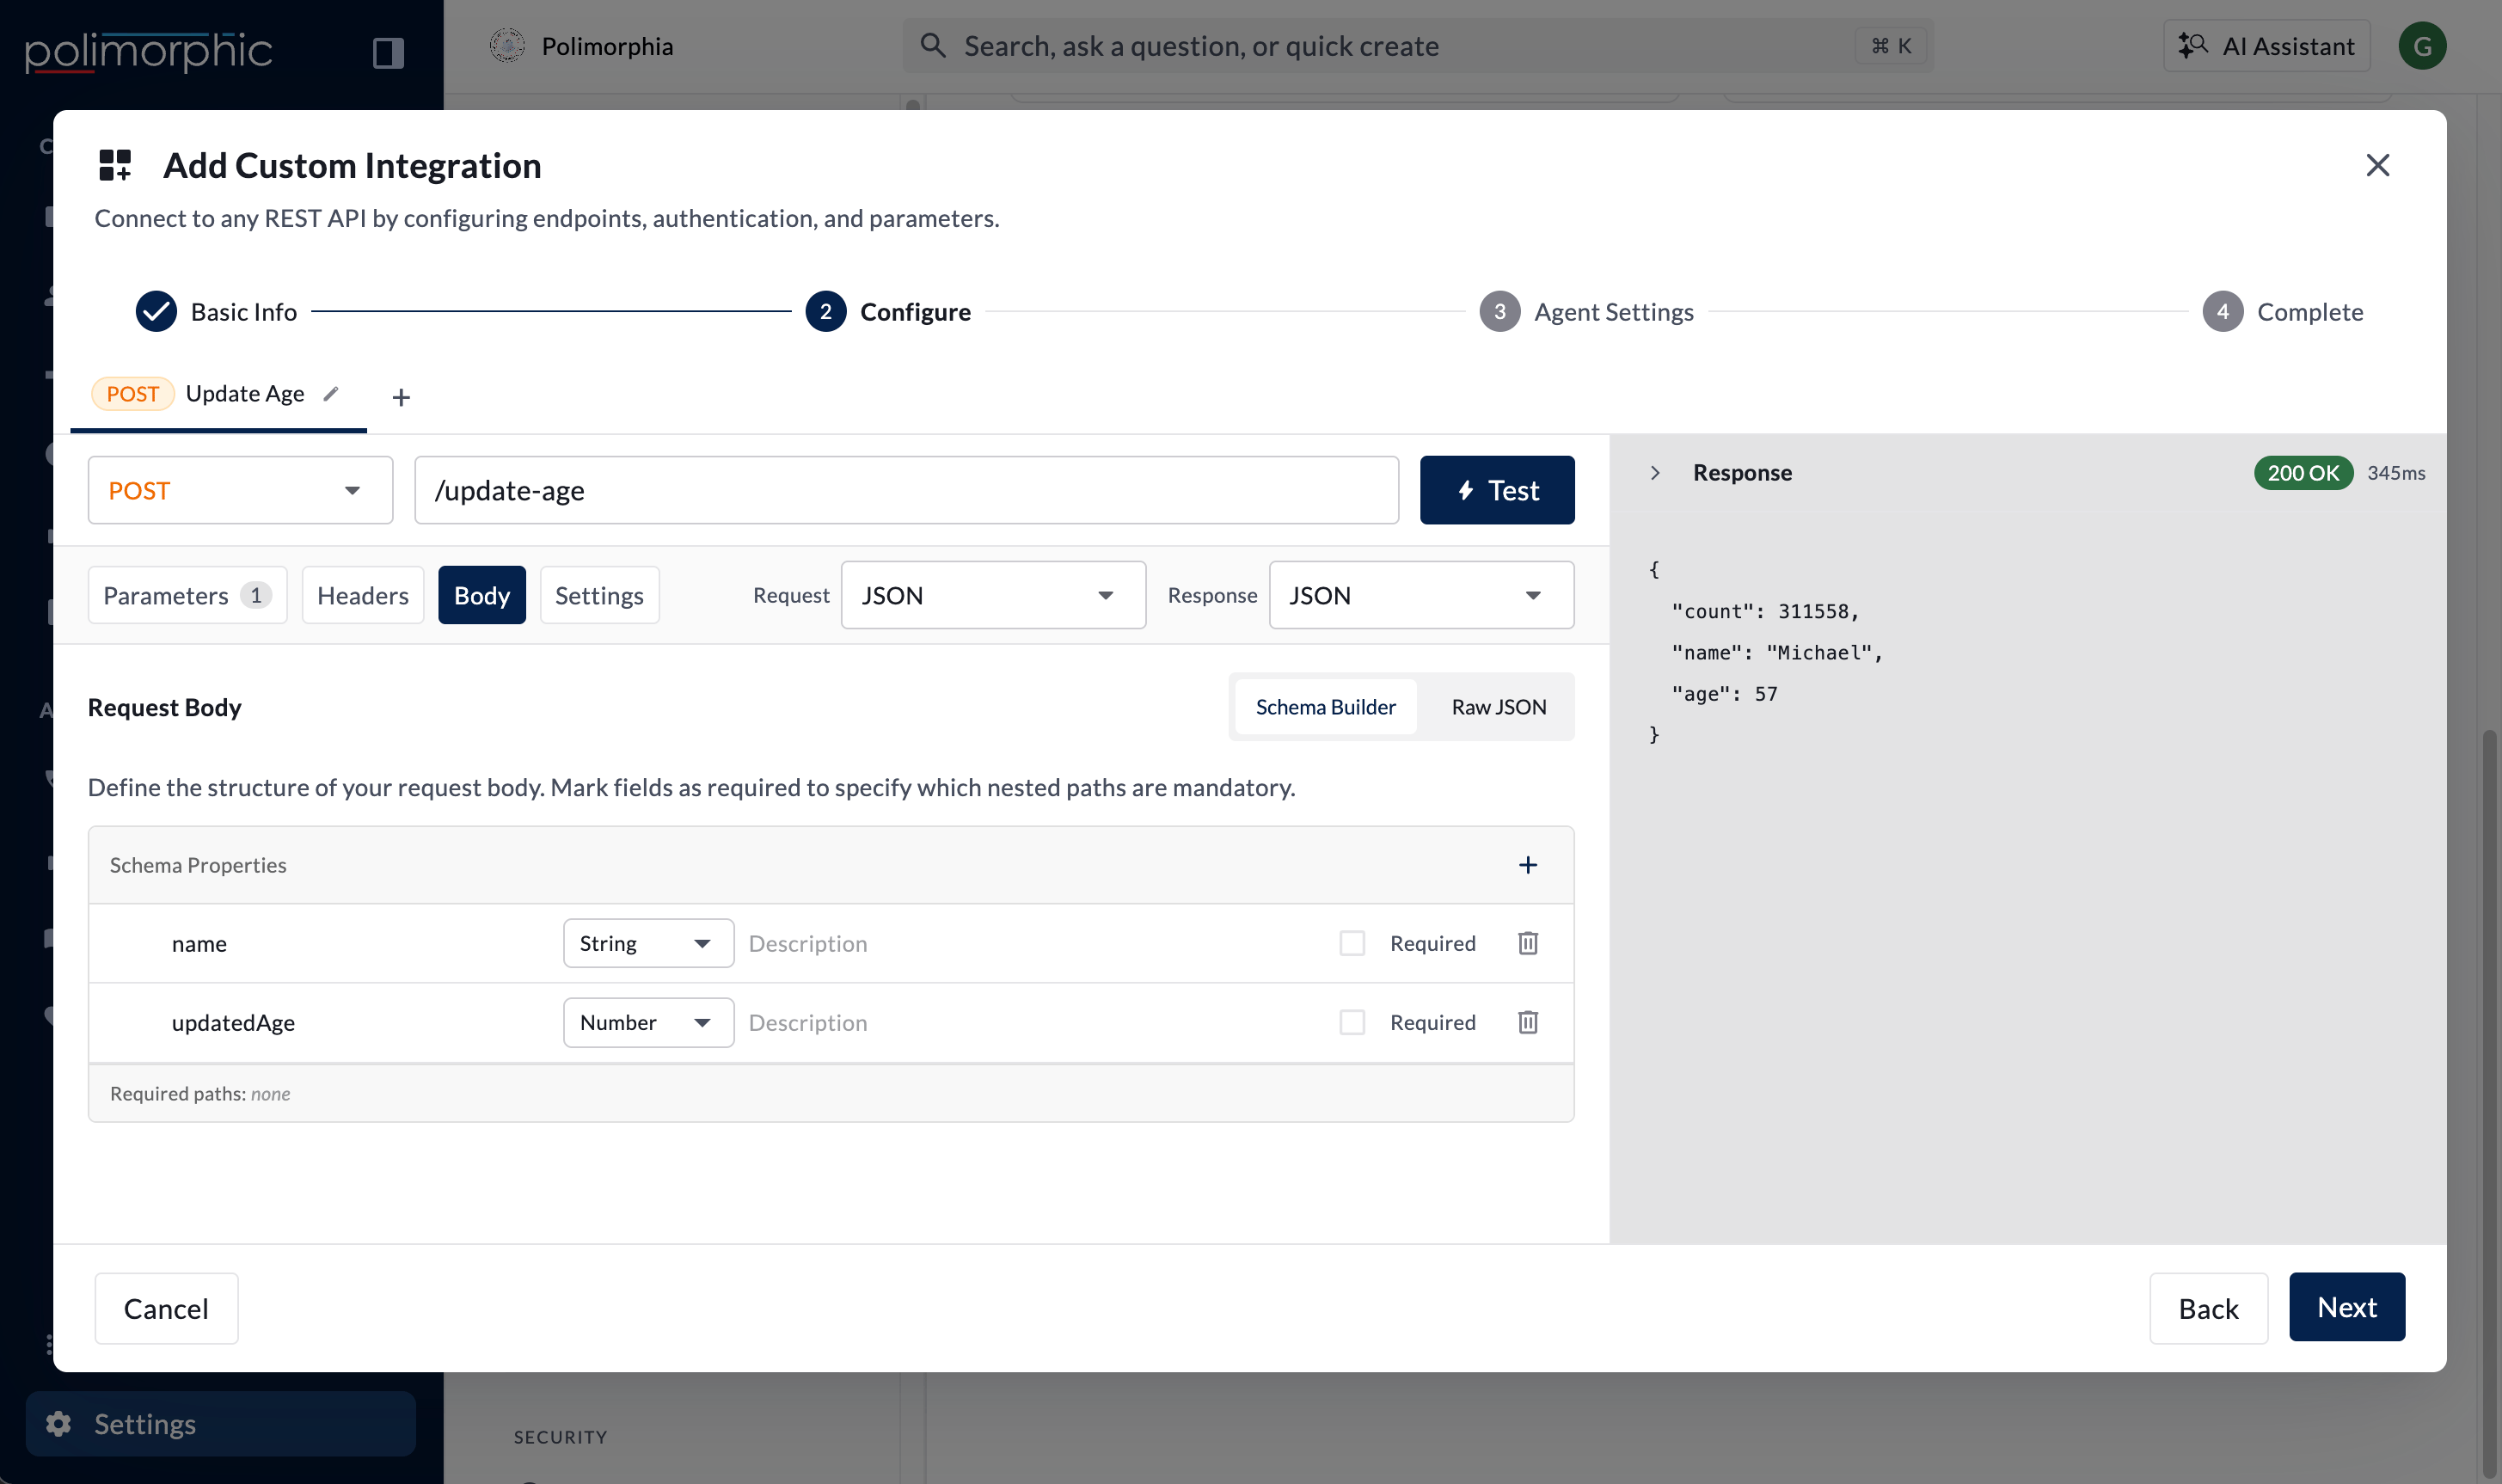
- JSON: Use the schema builder or raw JSON editor.
- XML: Use a SOAP 1.1, SOAP 1.2, or plain XML starting template, then adapt it to the provider’s schema.
- Form URL-Encoded: Define the values expected by the provider.
Settings
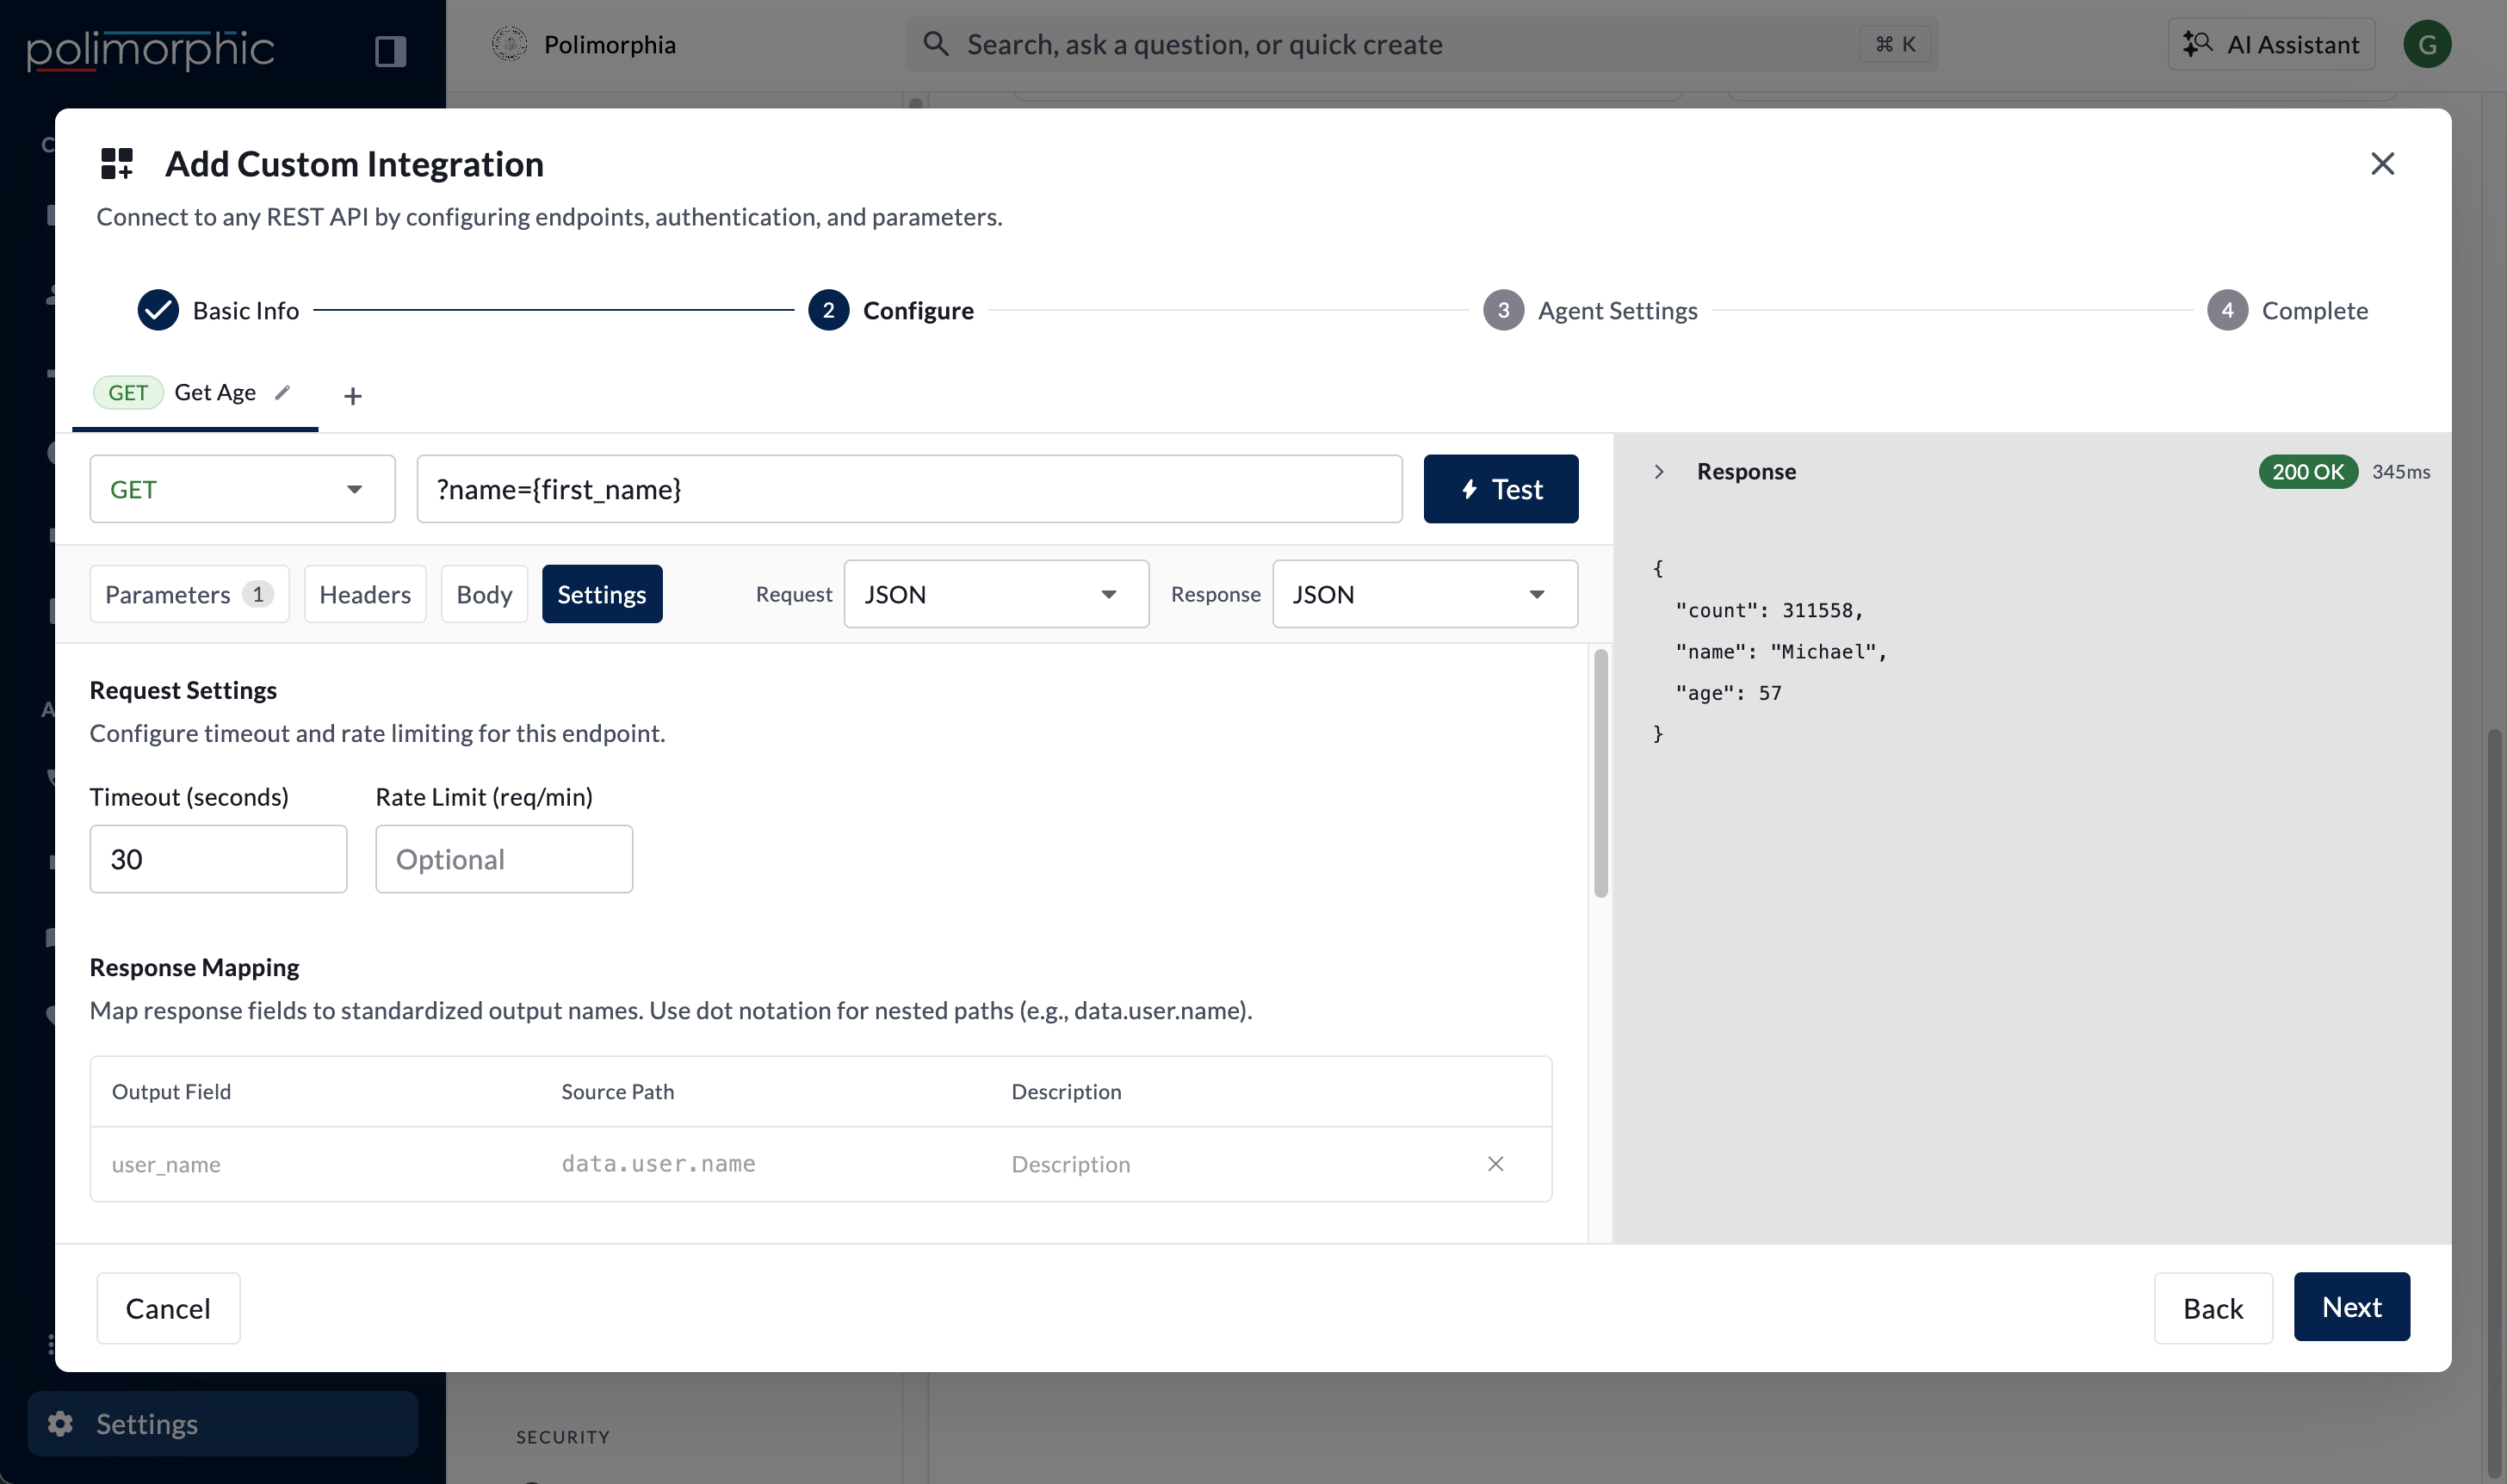
- Timeout: From 1 to 300 seconds. The default is 30 seconds.
- Rate Limit: Optional requests-per-minute information for the endpoint.
- Request Format and Response Format
- Response Mapping: Map response paths to simpler output names using dot notation.
- Validation Rules: Define verified response requirements needed by this integration.
- Identity Verification: Require caller information to match values returned by the provider before personalized data is shared.
- Endpoint Status: Active or Disabled.
- Enable Identity Verification.
- Add at least one unique field.
- Enter the identity field name and the response path where the provider returns it.
- Choose Exact or Fuzzy (agent) matching.
- Test matches, mismatches, missing fields, and incomplete provider responses before enabling resident-facing access.
Test an endpoint before saving
Select Test in the endpoint editor.- Success or failure
- HTTP status
- Response body
- Elapsed time
- Error details
3. Configure Agent Settings
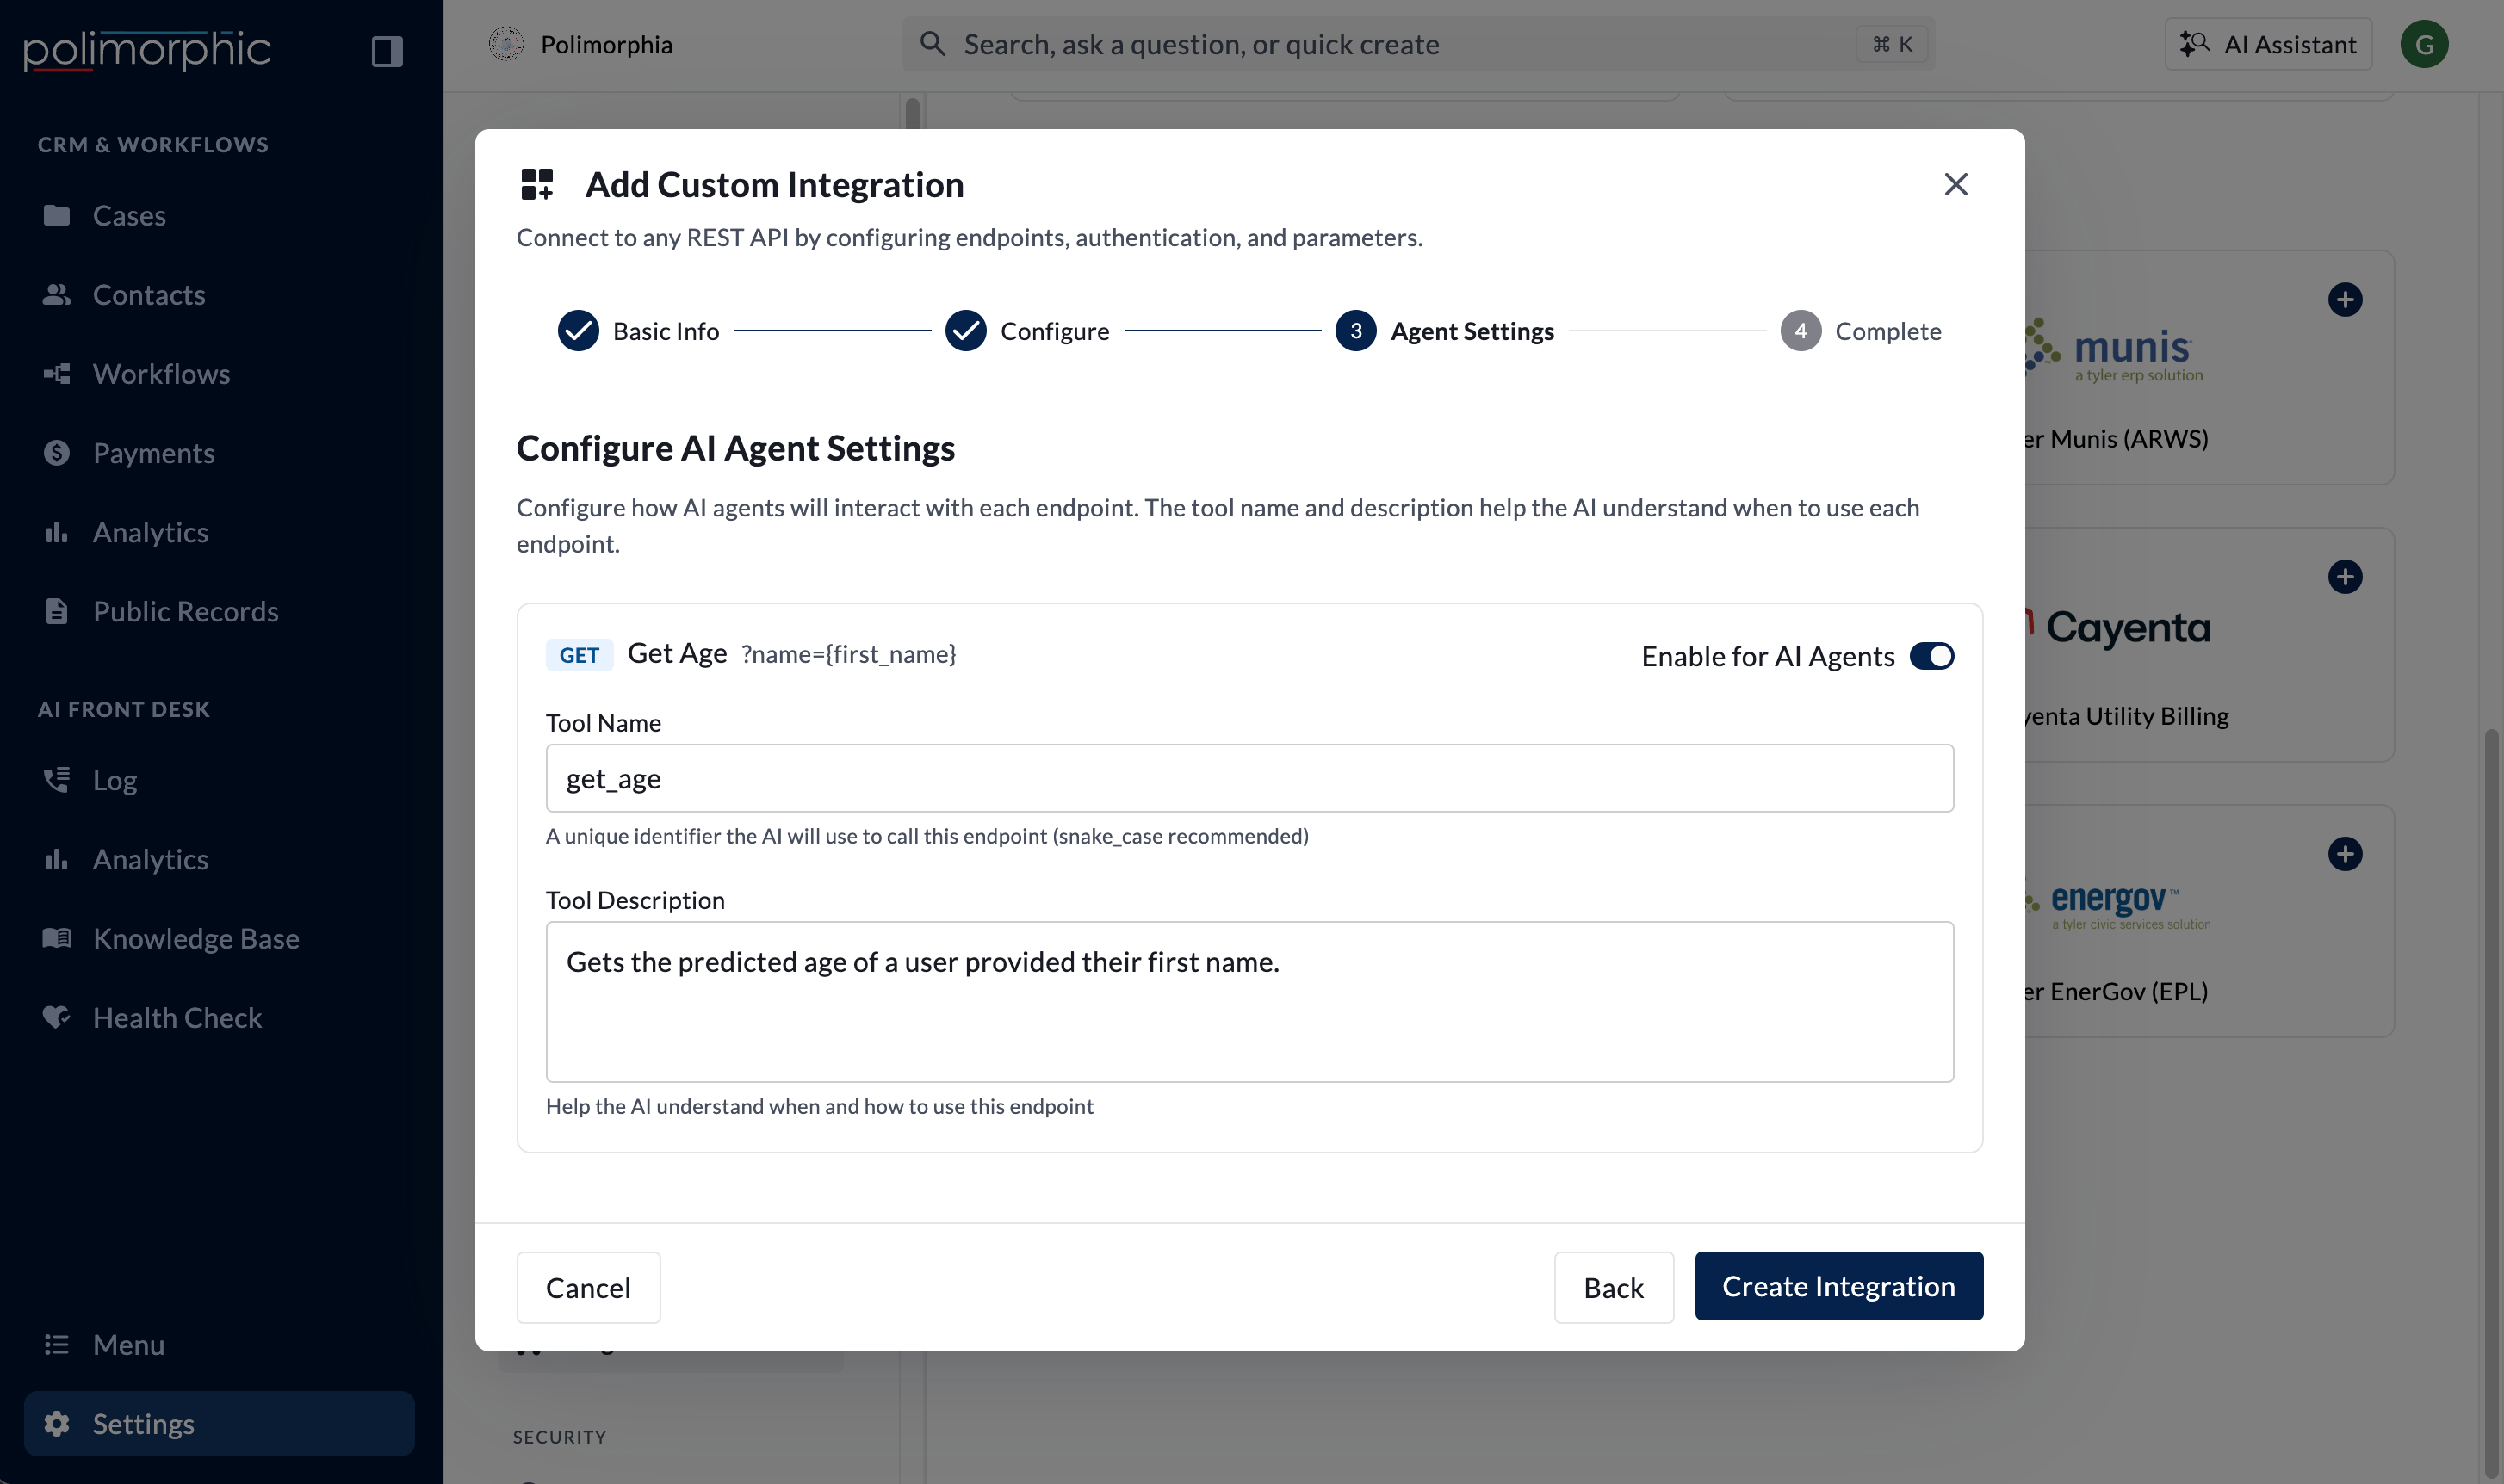
- Enable Enable for AI Agents.
- Enter a unique Tool Name.
- Write a Tool Description that states when the agent should use the capability, the information it needs, and important limits.
4. Create the integration and configure access
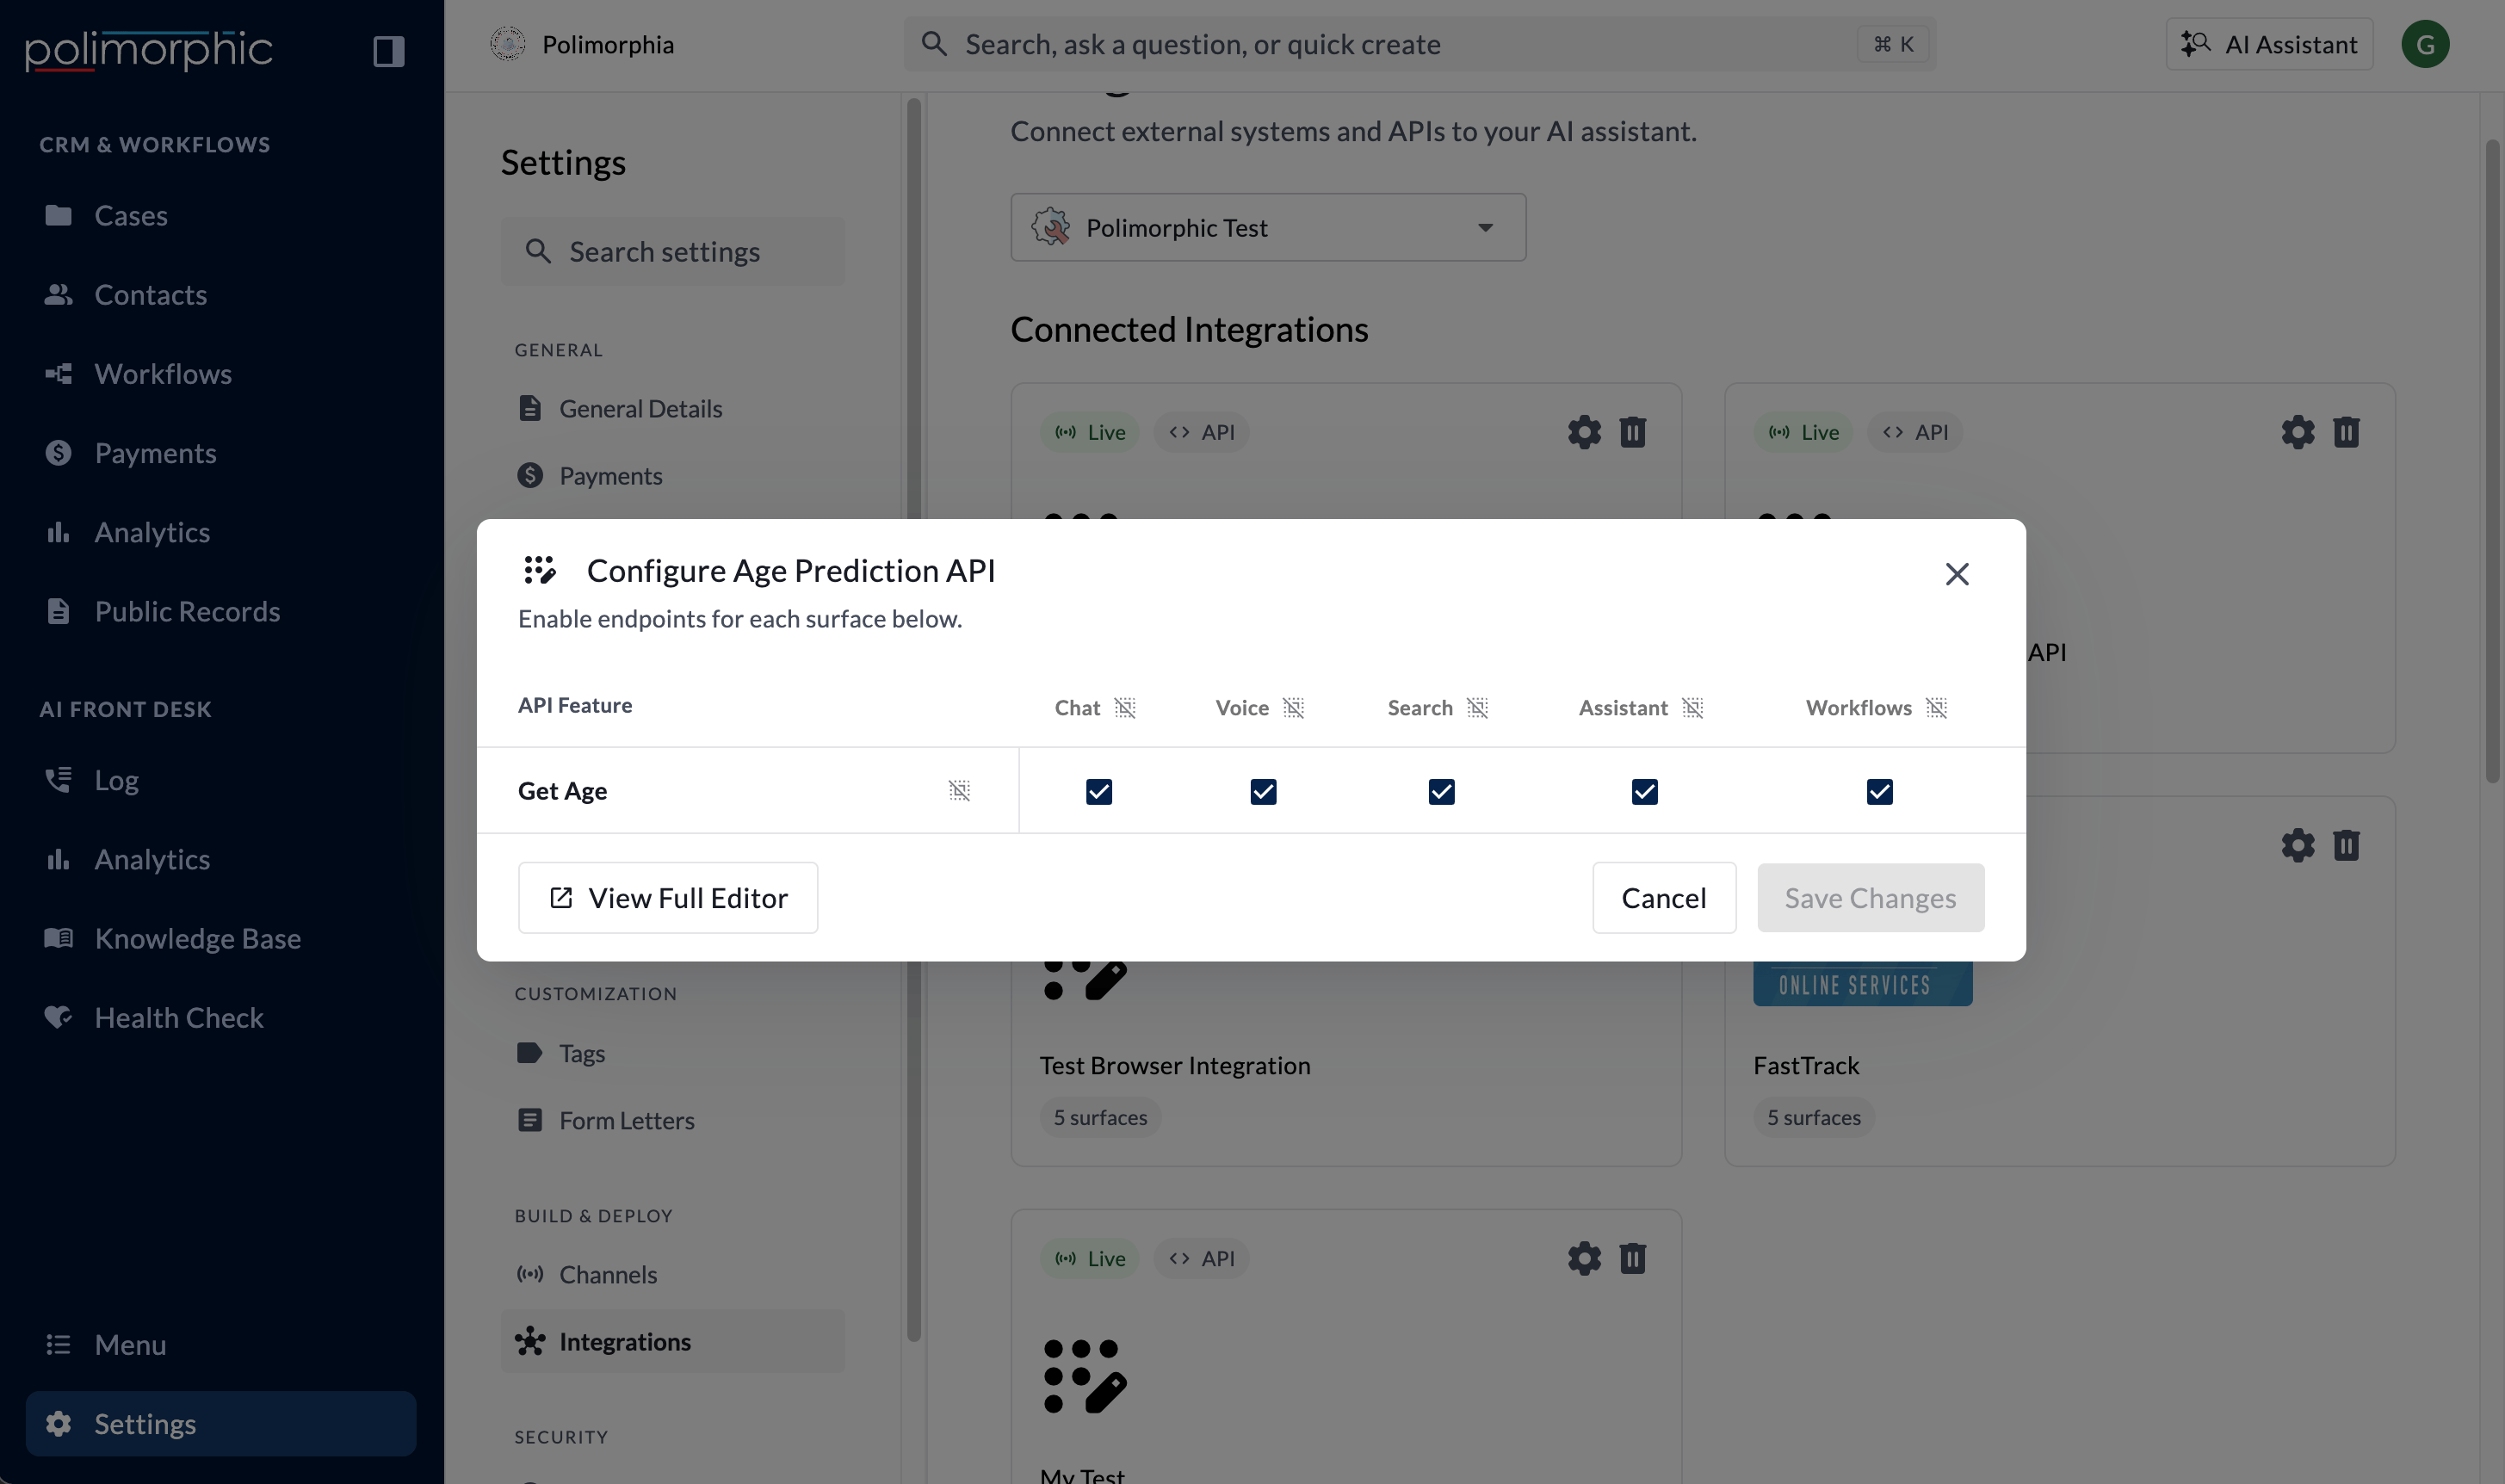
Select Create Integration on the Agent Settings step, then find the connection under Connected Integrations. Open Configure to choose endpoint access for Chat, Voice, Search, Assistant, and Workflows.